Whip Stitch Seam Between Working Edges
This post may contain affiliate links. Read my full disclosure policy.
This website does not provide medical advice. Read my full disclaimer here.
There are several ways to seam your crochet fabric together but none are quite so versatile as the whip stitch. This stitch is an easy way to quickly join your crochet fabrics – the only drawback is that it is somewhat visible. If you use the same color yarn and the fabric, it virtually disappears. If you have multiple colors and can’t match just one, choose the color that will disappear the most.
Along The Working Edge

The whip stitch seam above would blend in perfectly using the same color yarn as the base fabrics. Teal yarn was used so you could see the steps more clearly.
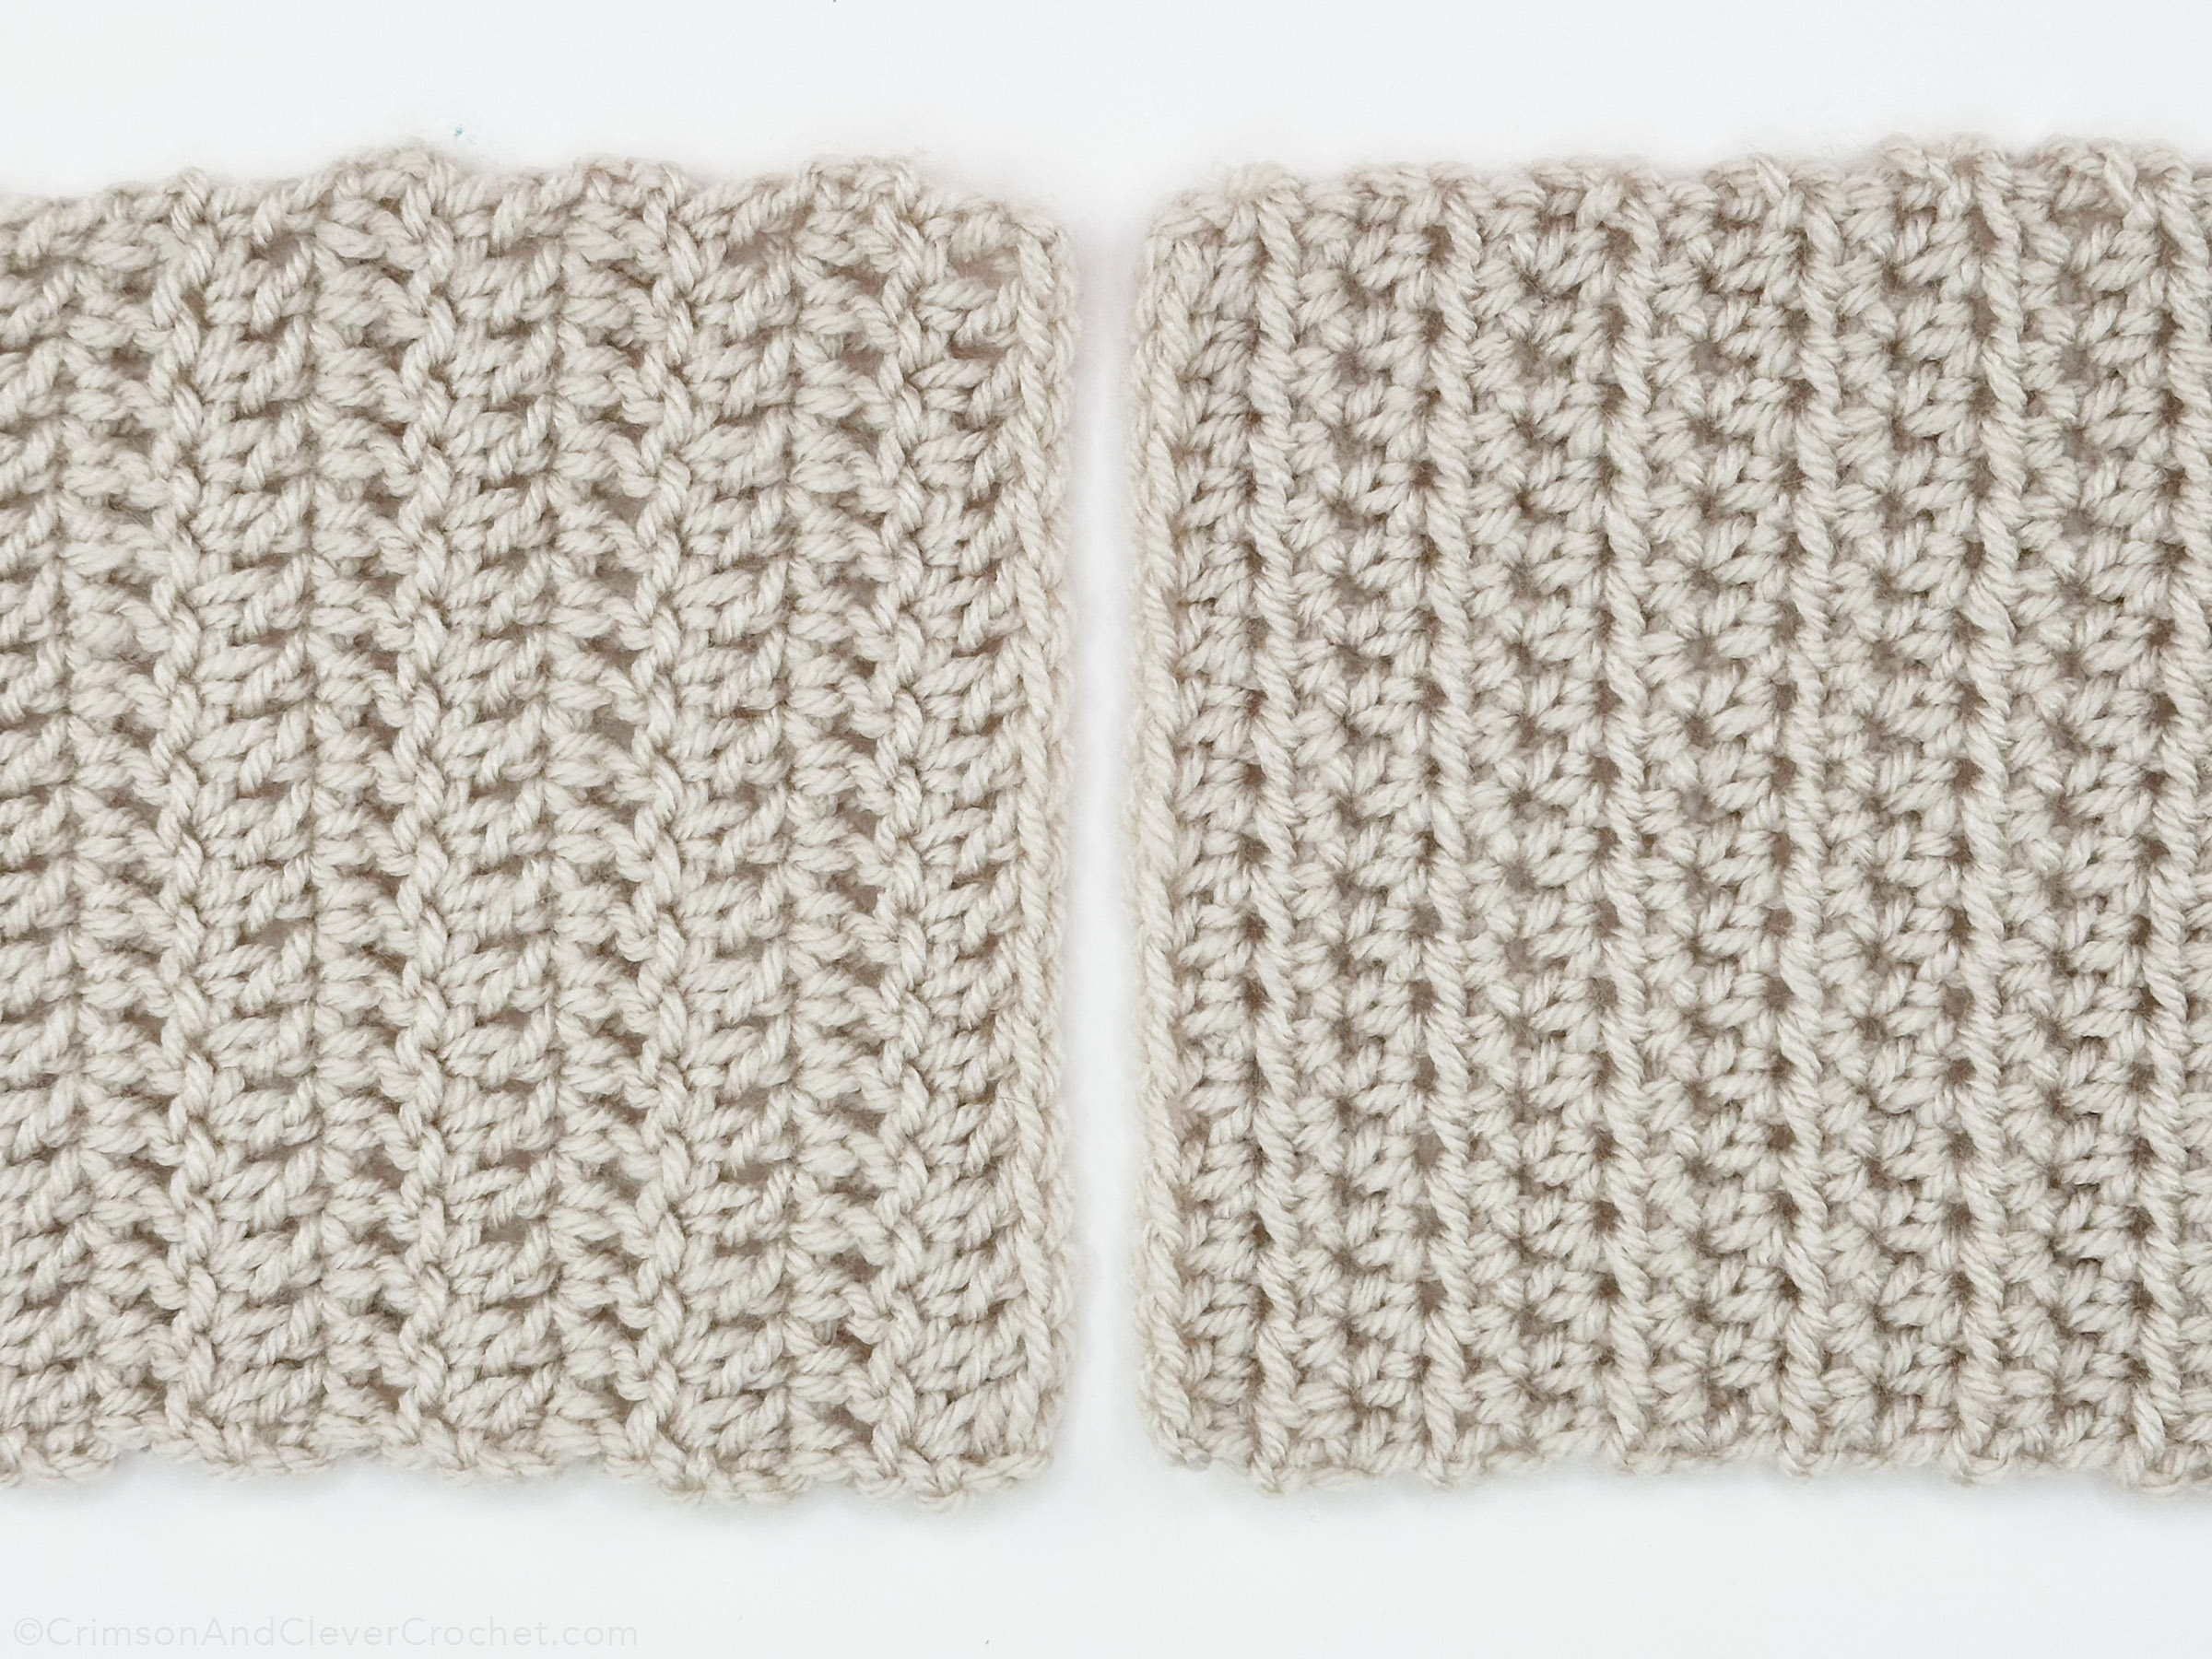
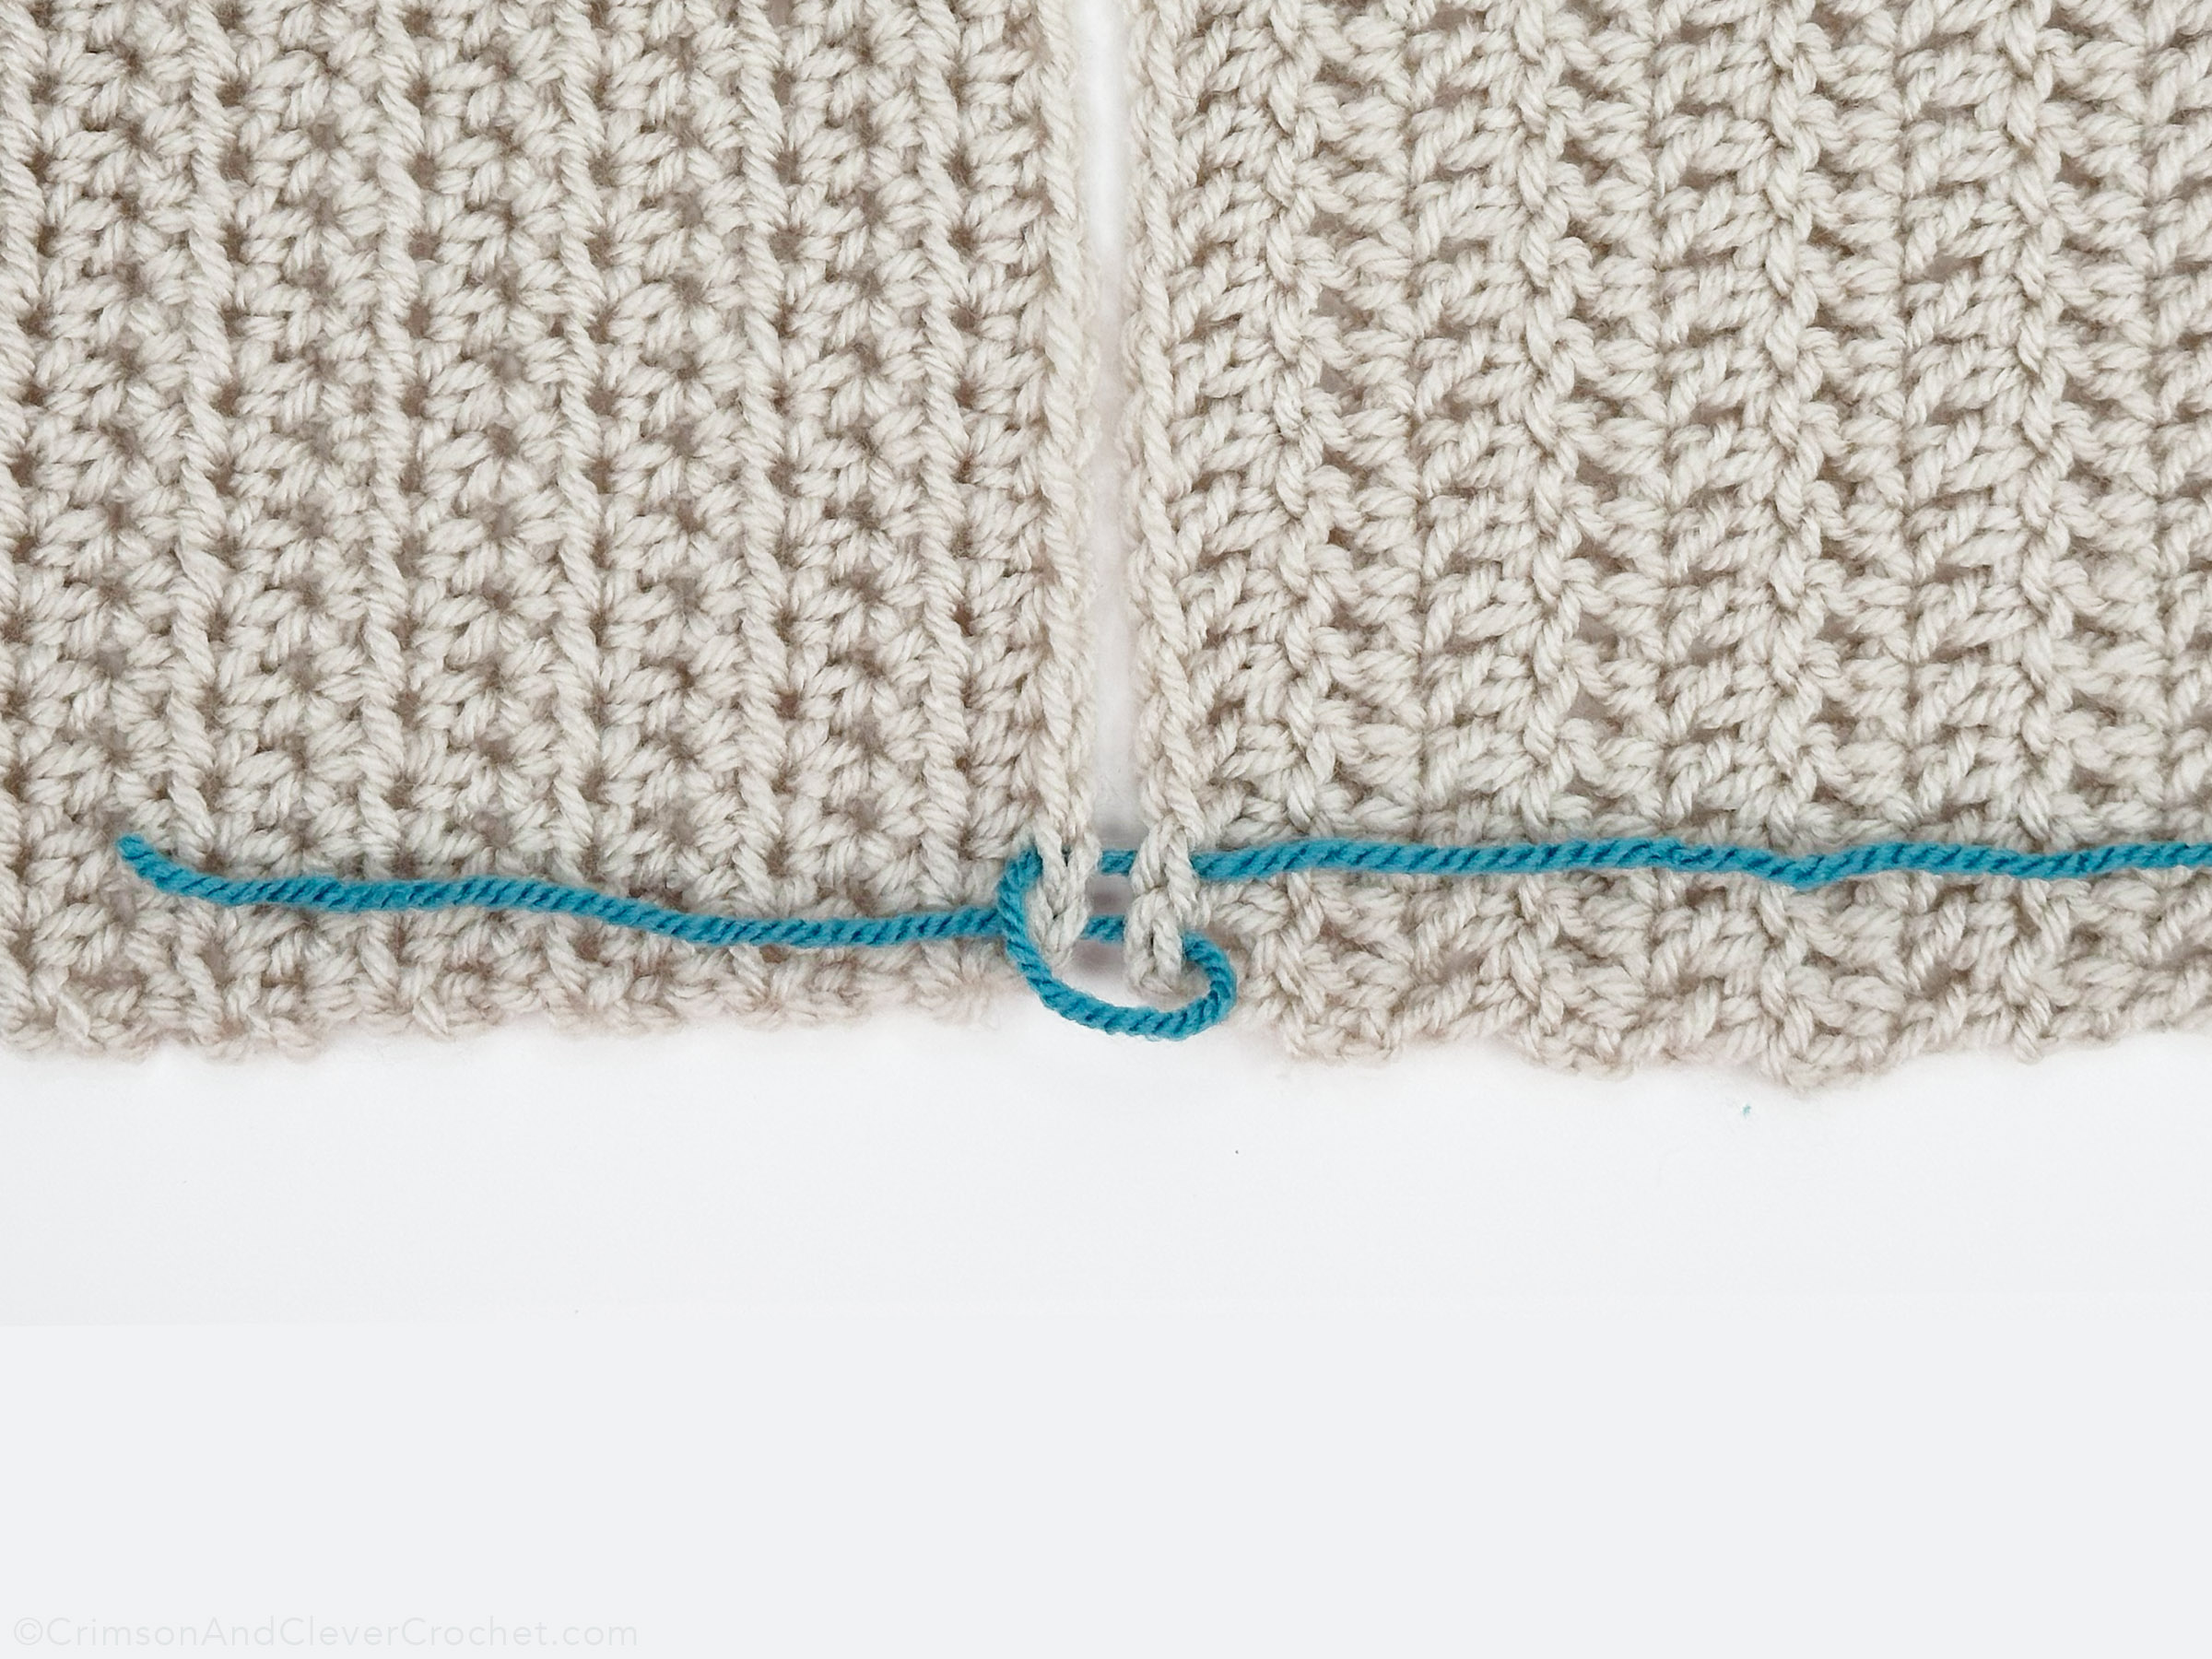
First, line up your fabrics’ working edges. Working edges are the first row crocheted (foundation row) and the last row crocheted. These are usually the easiest rows to line up and seam together.

Whip stitches will go through both loops of one fabric and then through both loops of the fabric to be joined. This is very simple, and as long as you have the same number of crochet stitches on each piece, will be a breeze to seam together.

After threading your yarn needle, insert from left to right.
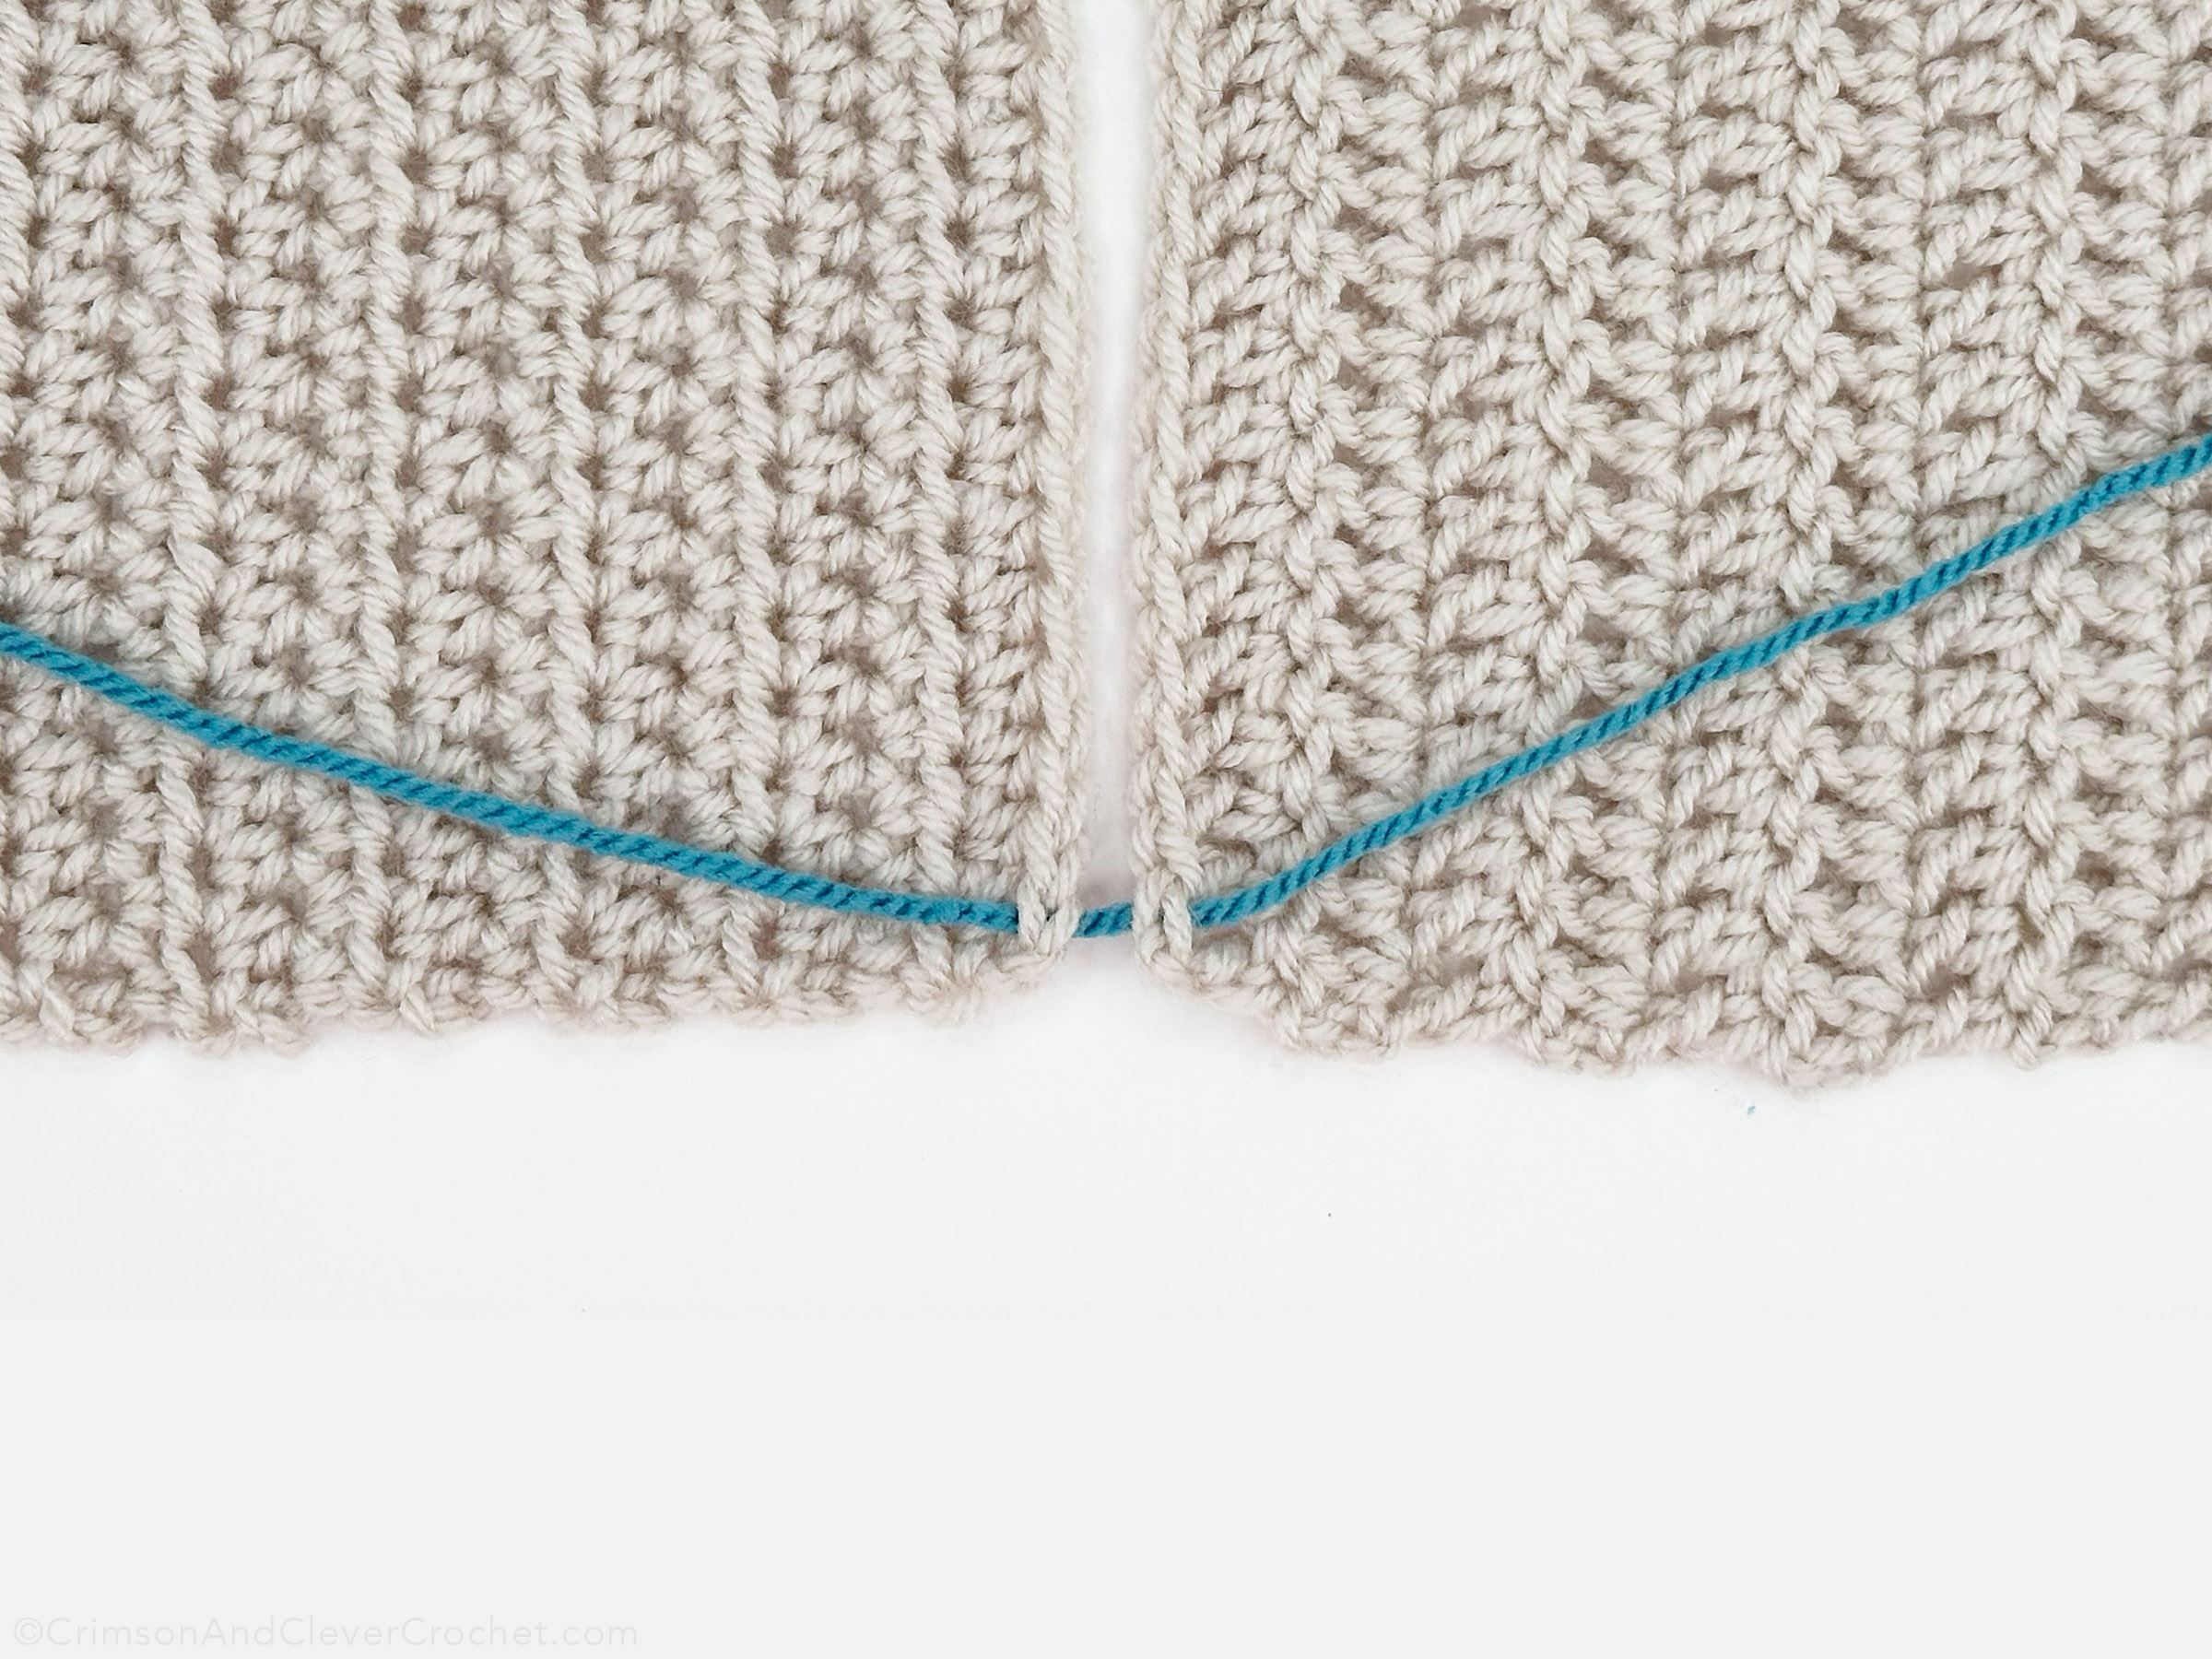
Pull needle and yarn through the stitch. Your fabric should look something like the above.
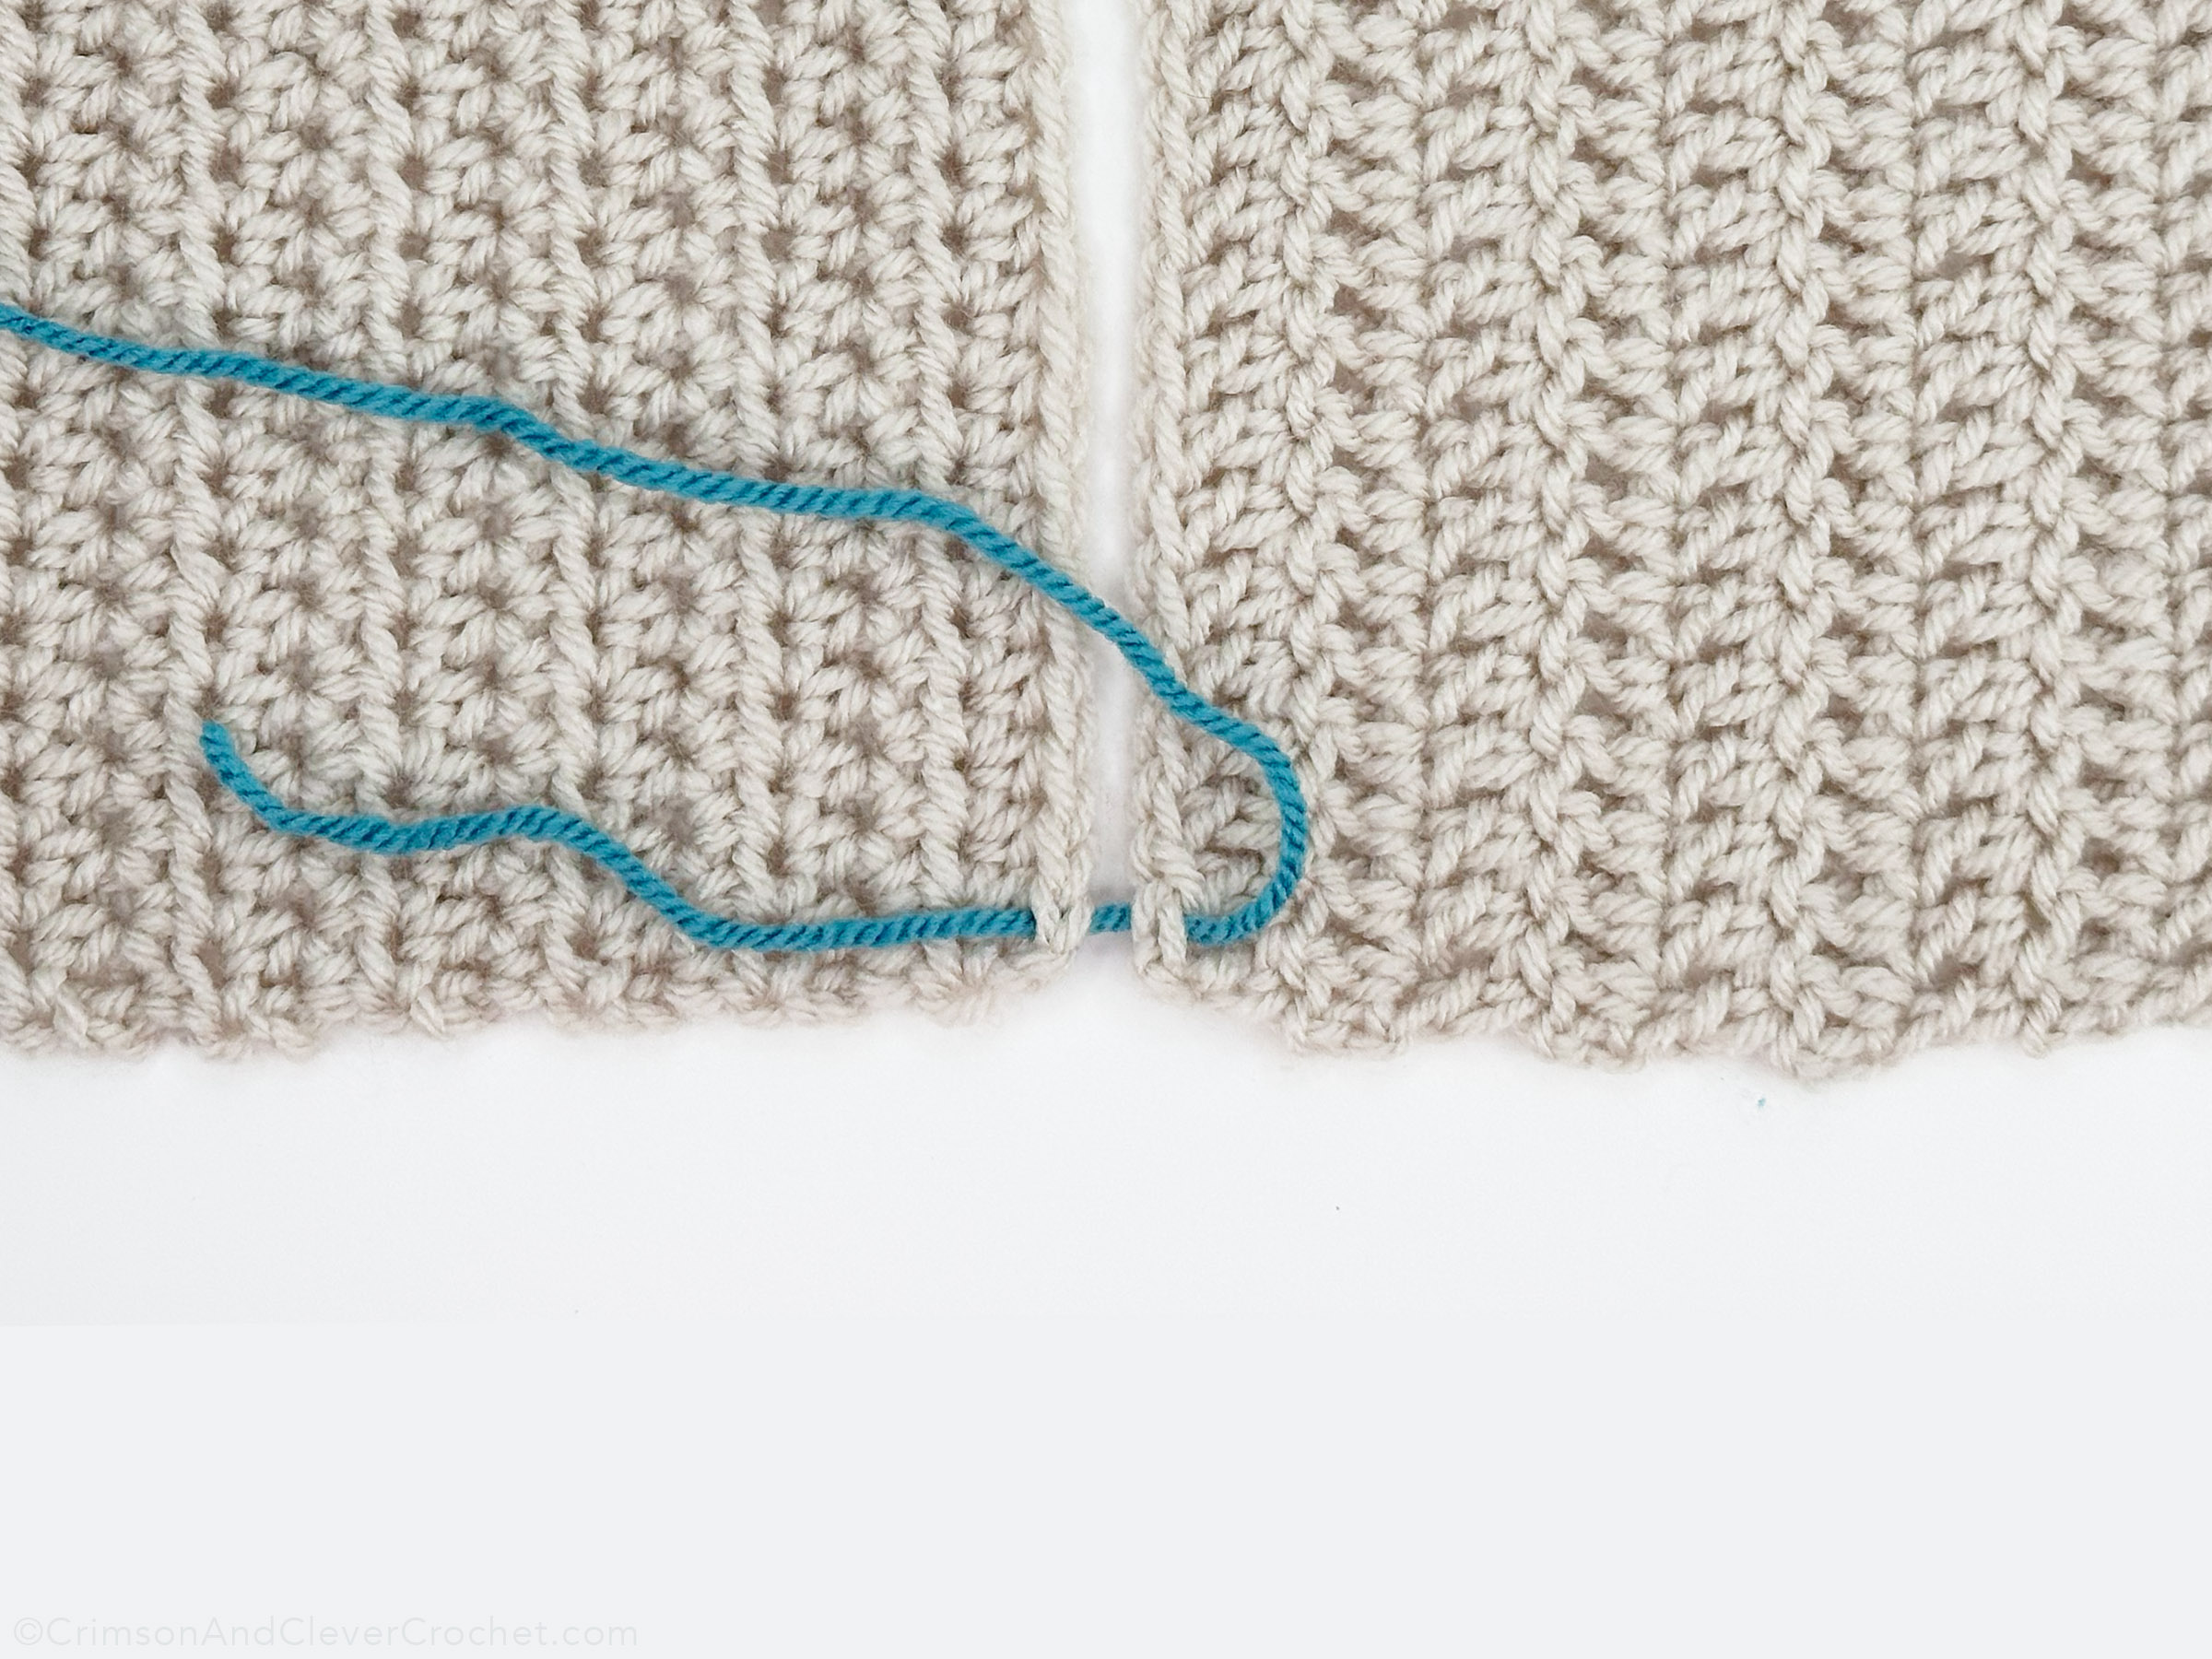
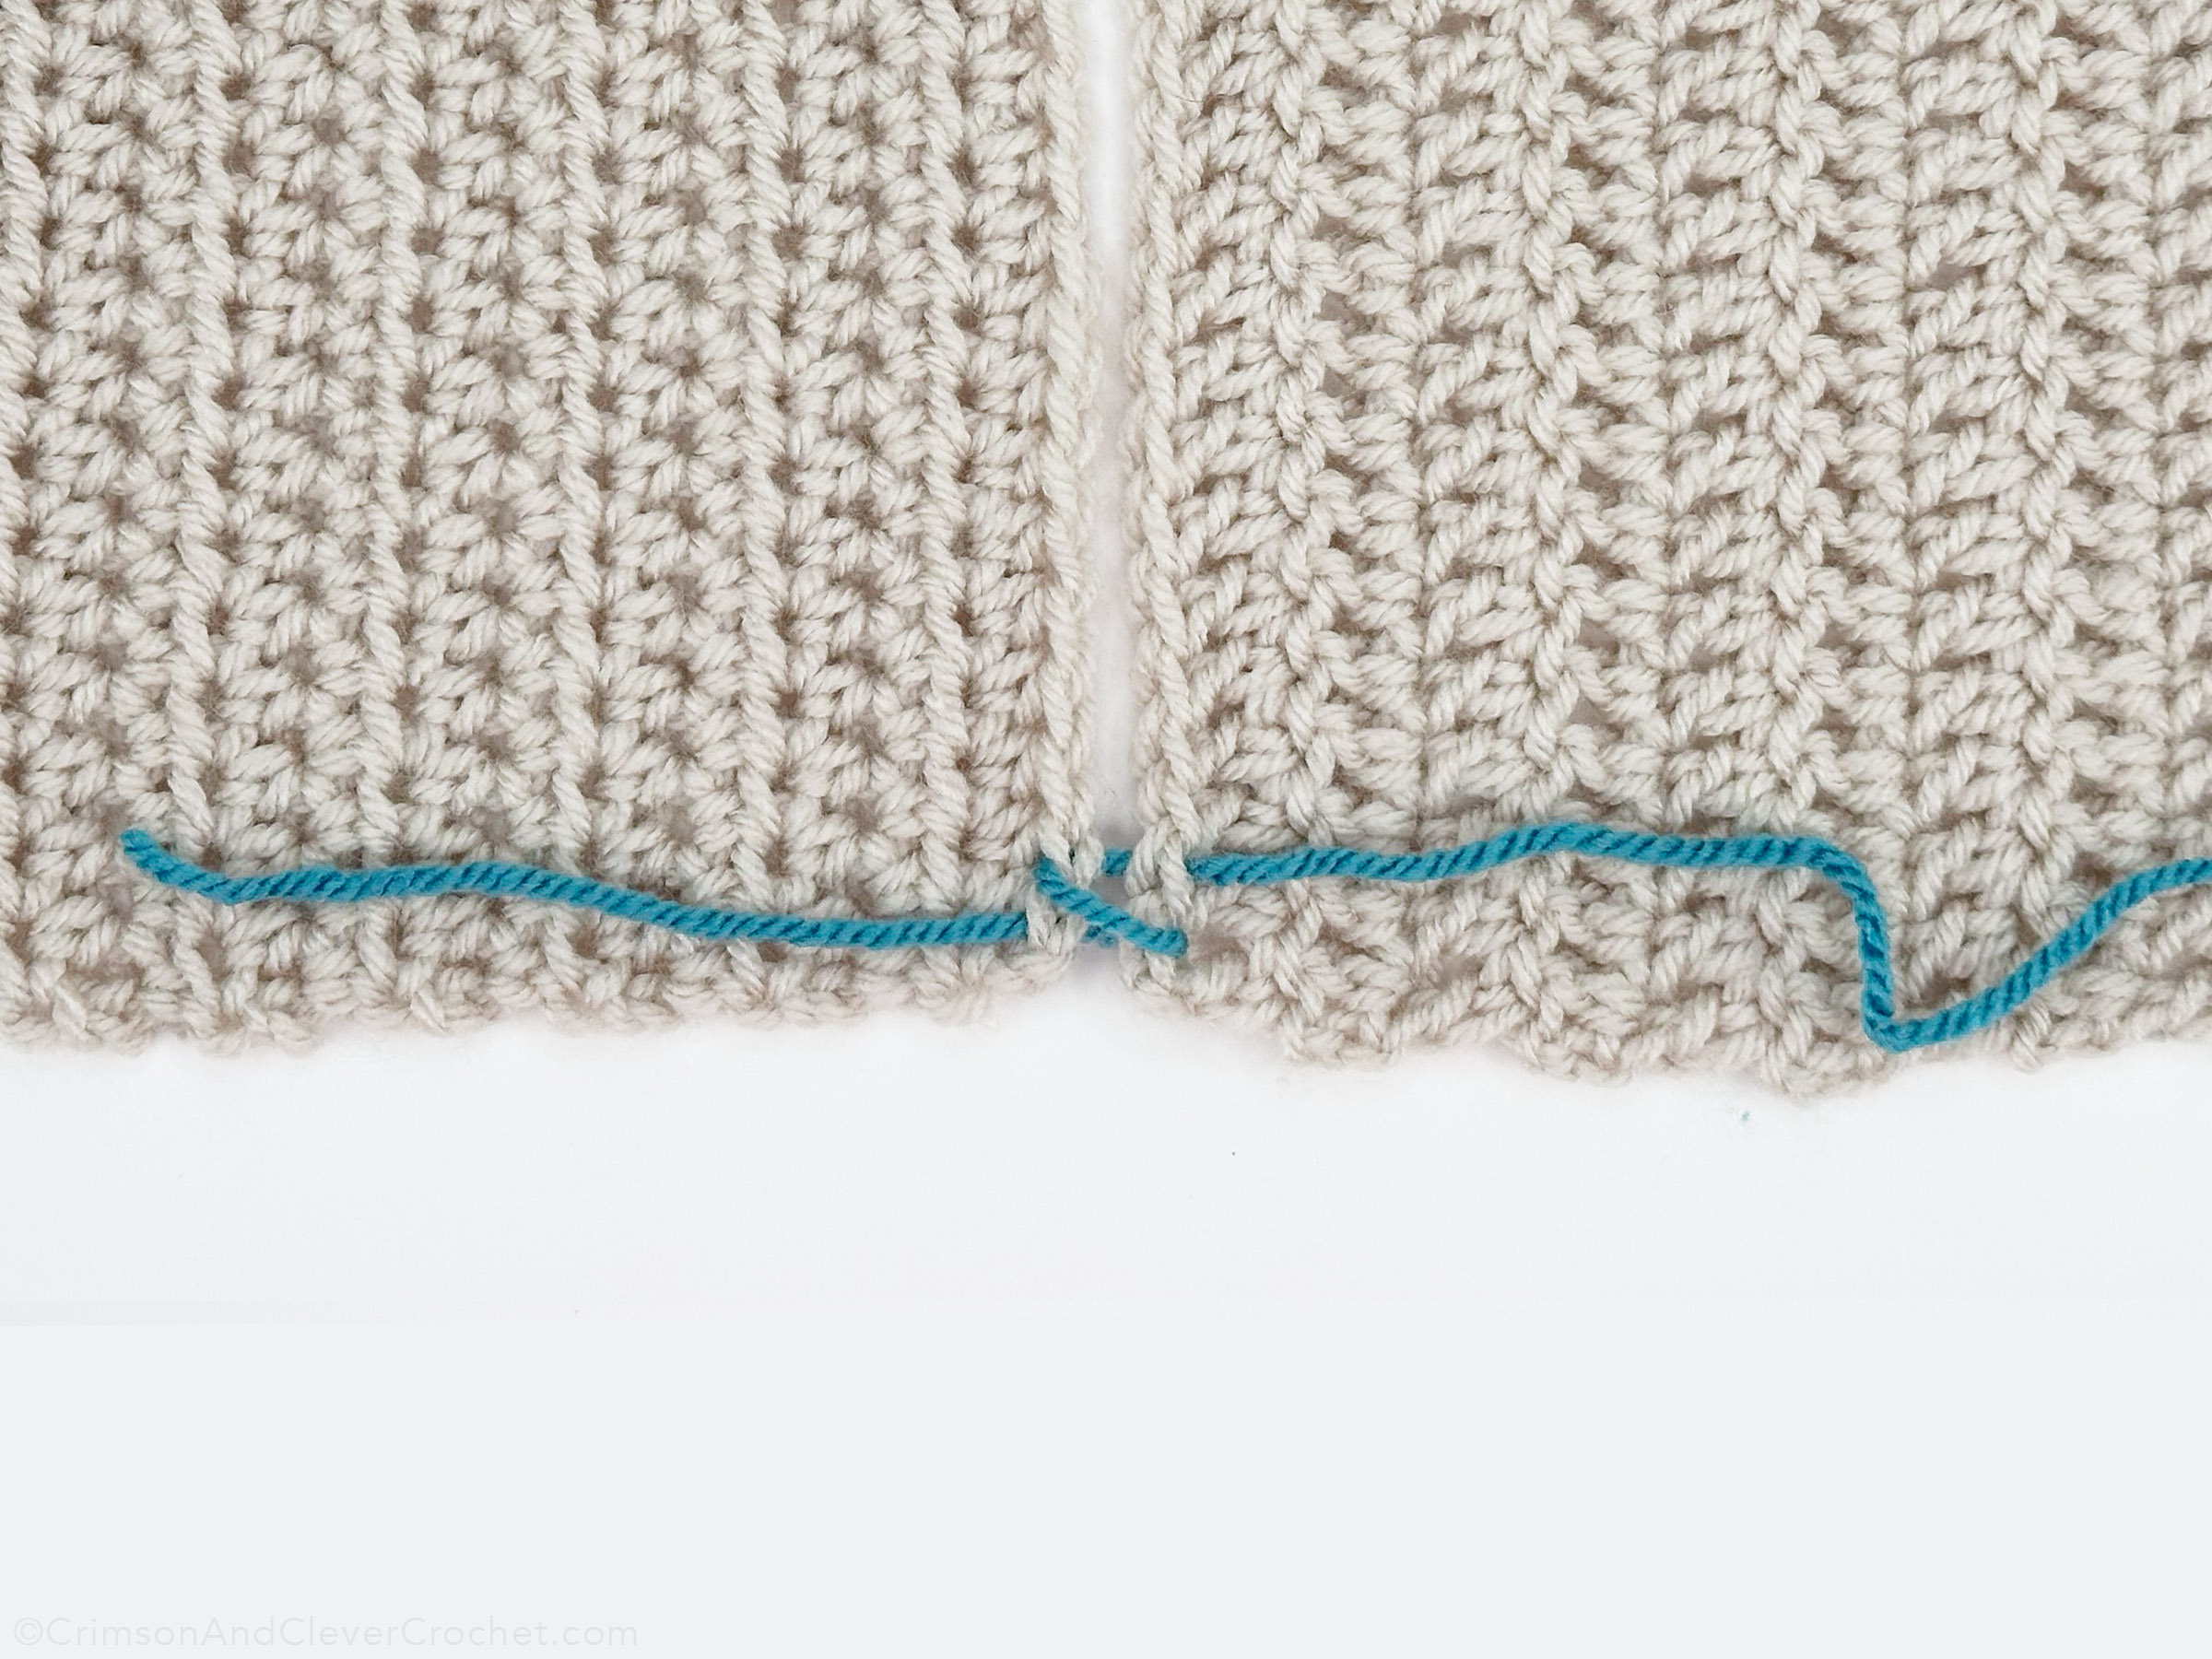
Leave a small tail behind to knot and hide at the end. Bring the working end of the yarn back over the seam from right to left. Be careful not to tangle it with the end you left behind!
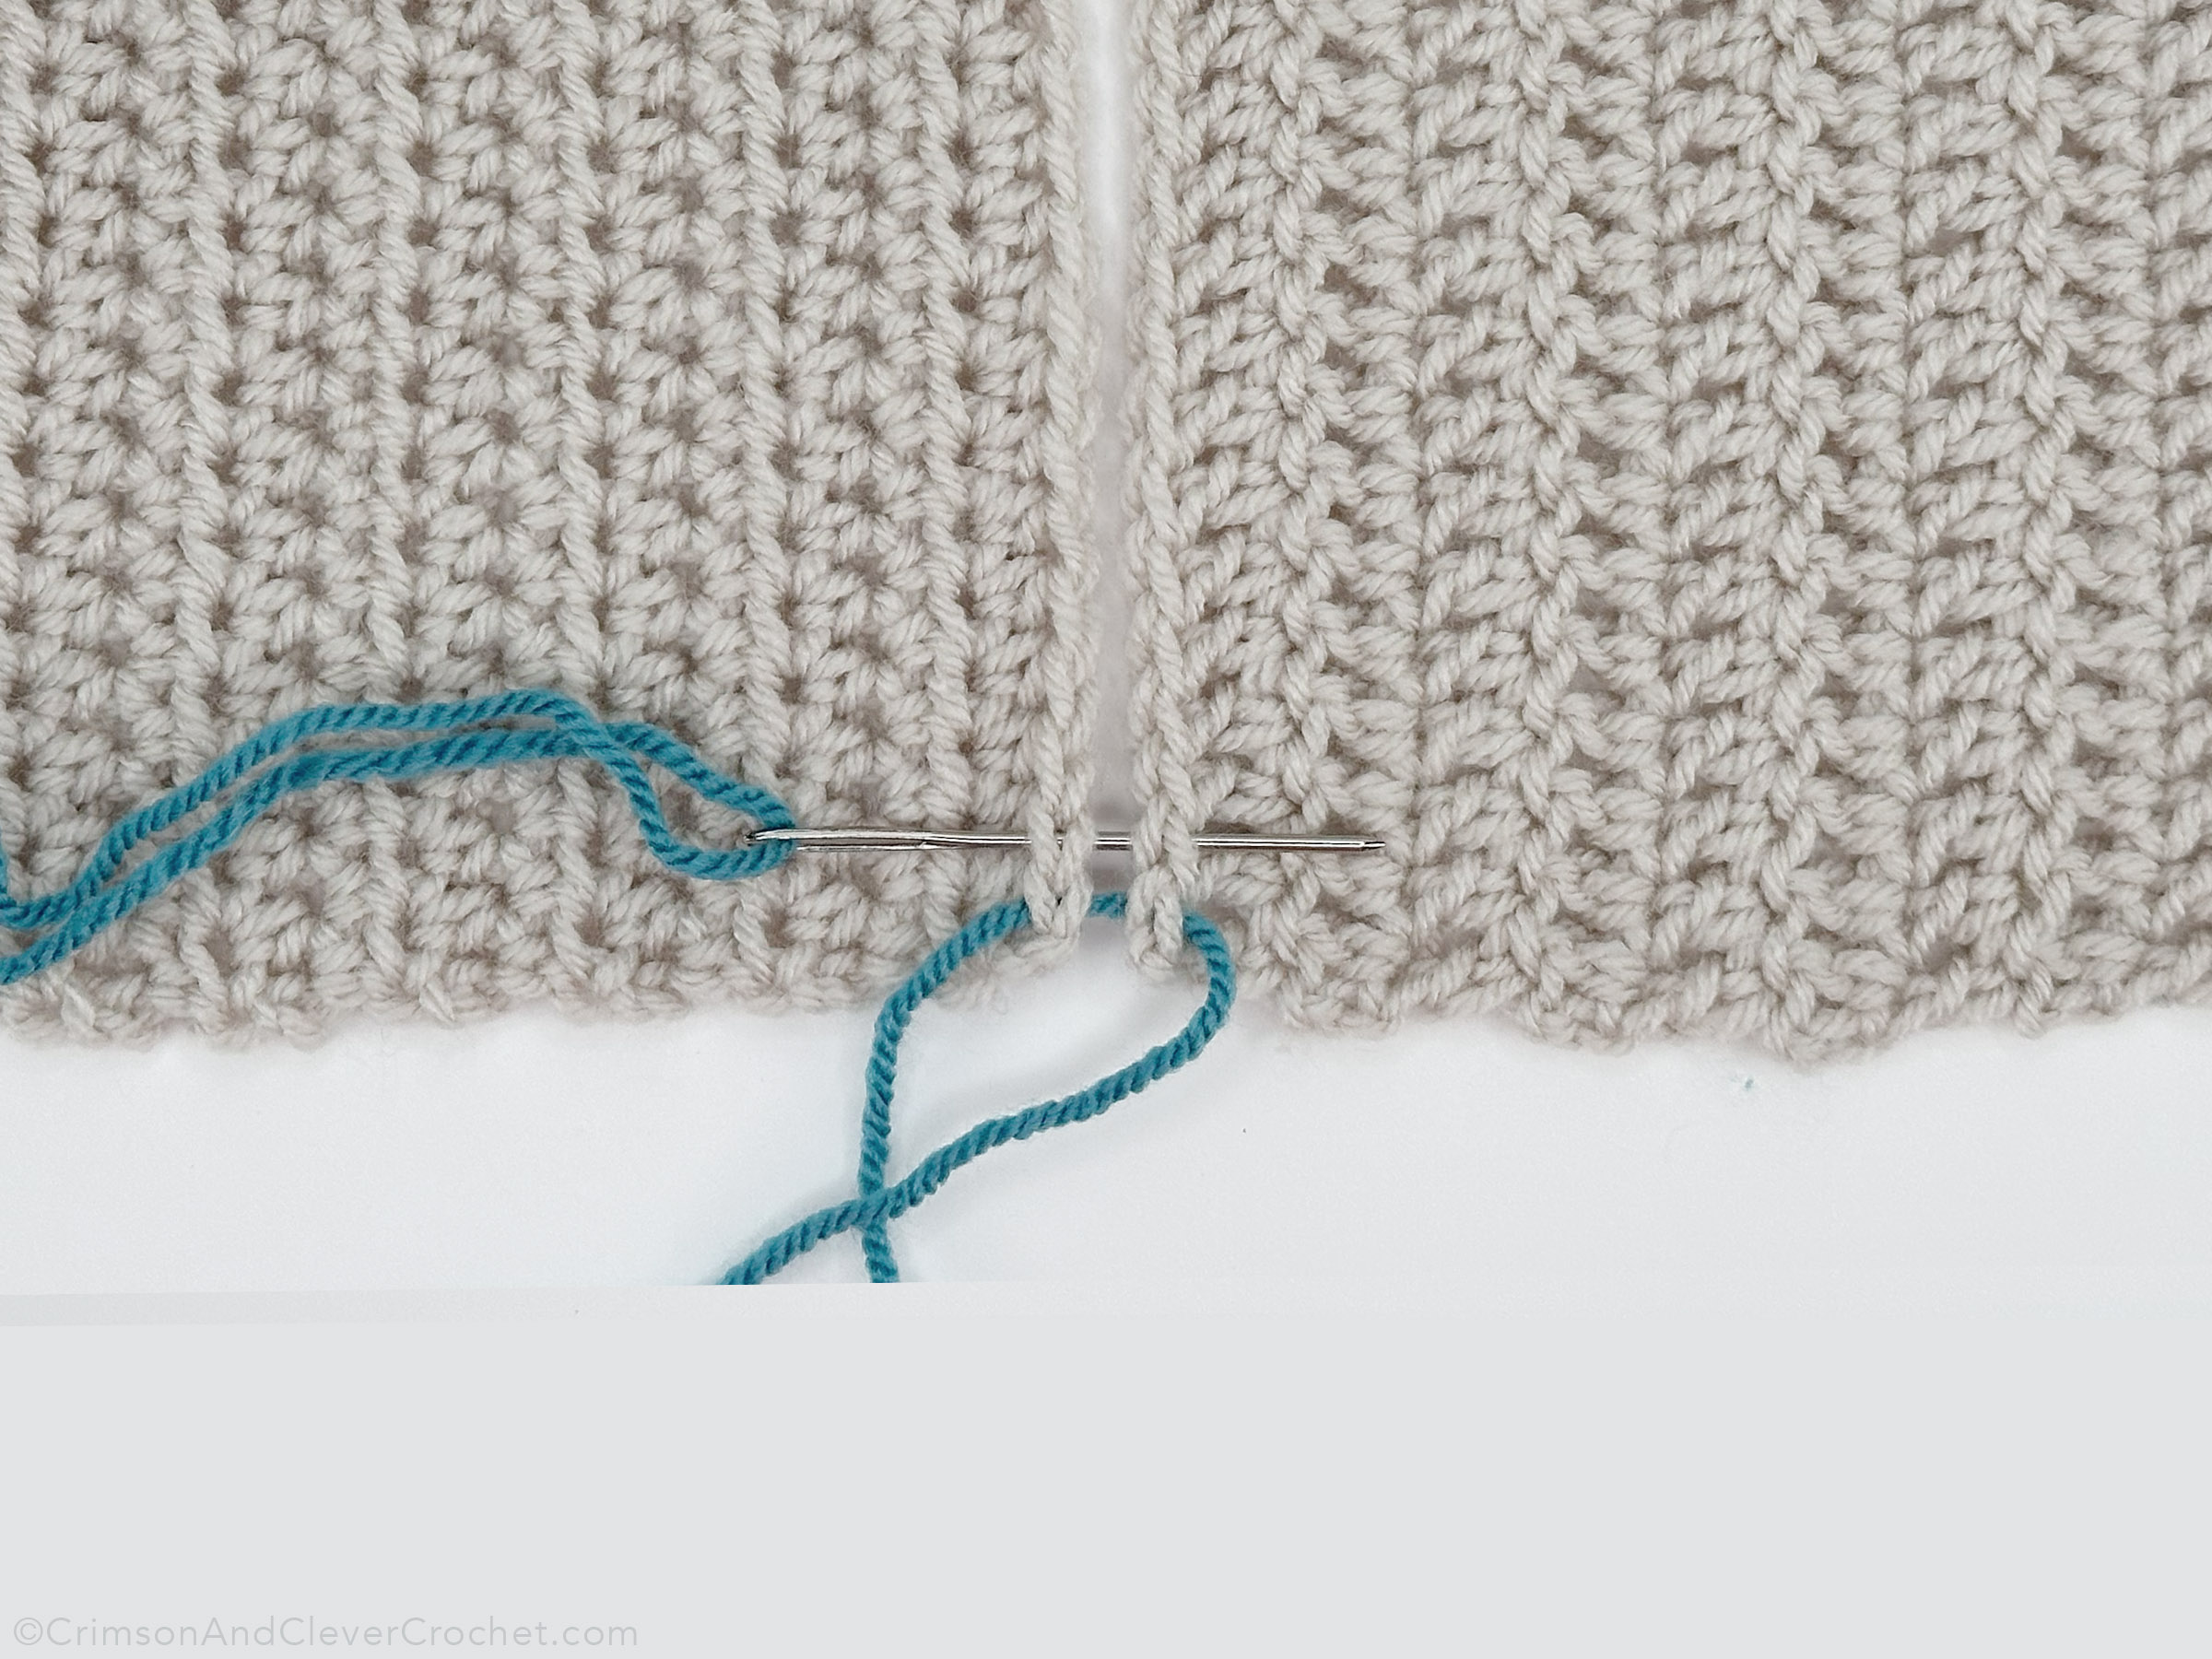
Insert needle into the next crochet stitches to be joined.
This is the first whip stitch! The image above is very loose so you can see how the stitch works.
Pull your needle until the yarn is snug and even slightly hidden in the fabrics. Be careful not to pull to tight – you can pucker your seam!

Continue whip stitching the seam together. This is what the seam will look like when you’re finished – but hopefully yours is a bit tighter. The above image has the wrong sides (WS) of the fabrics facing up.
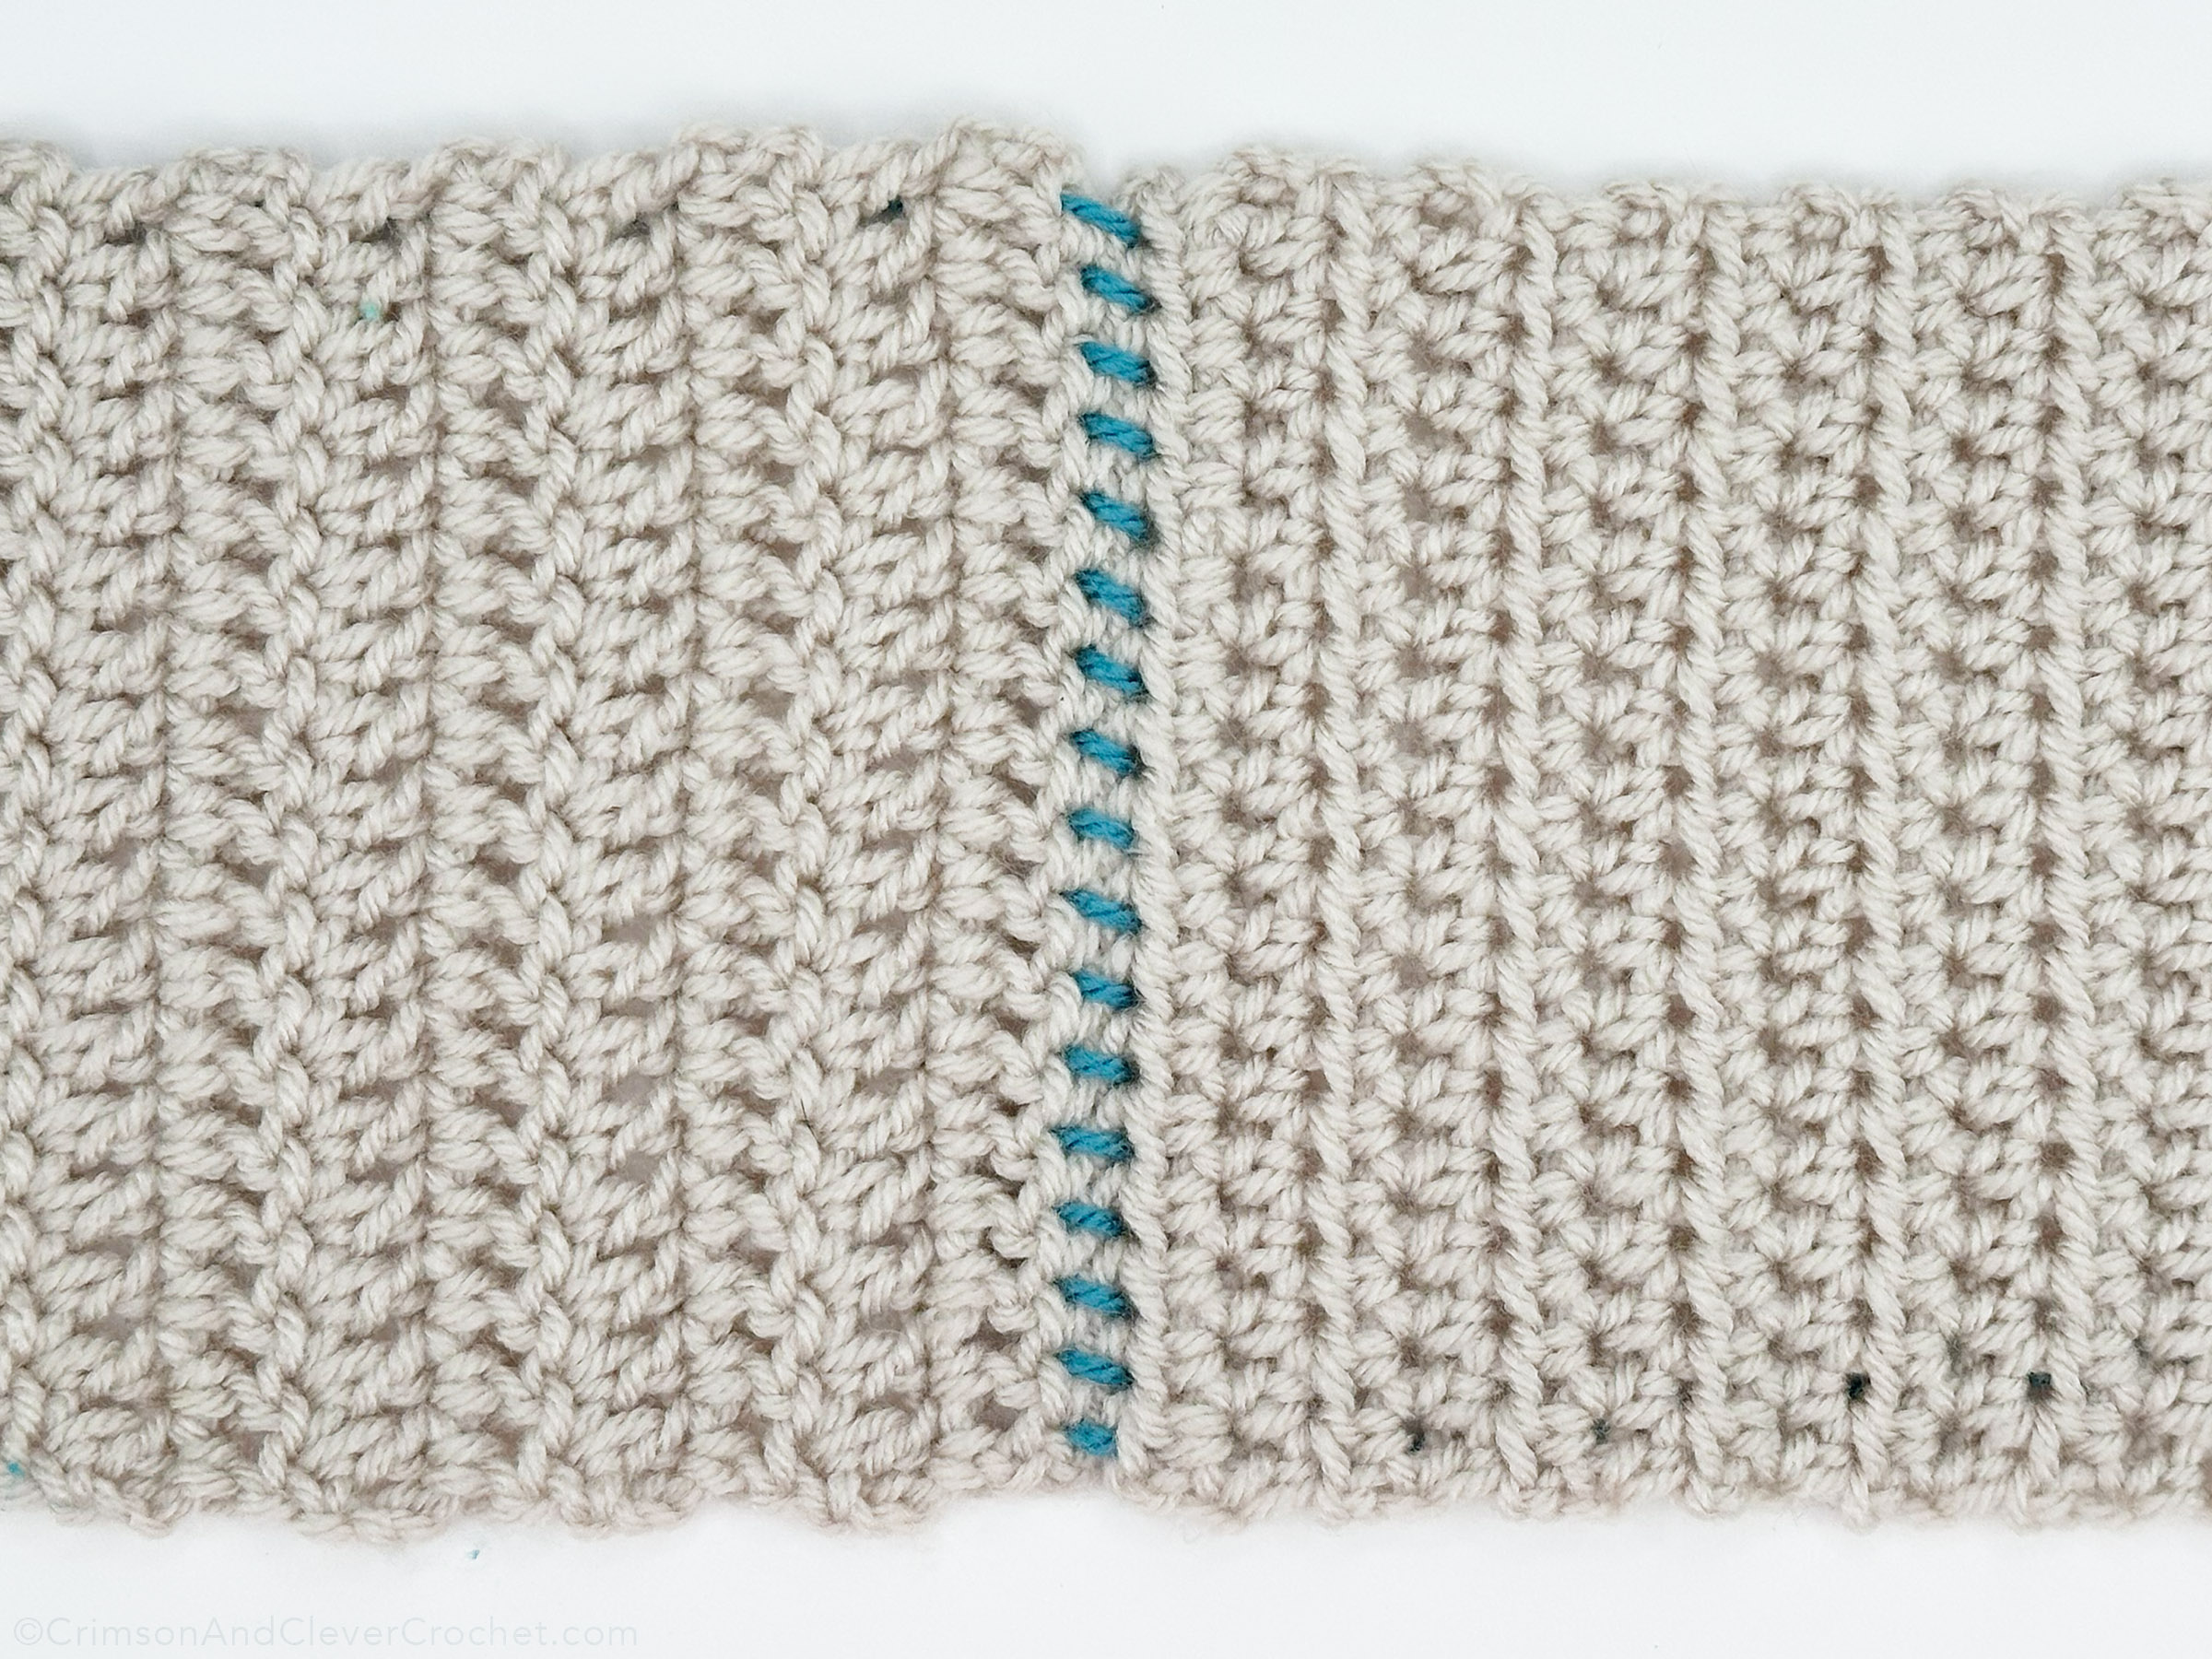
Secure the ends of the whip stitch yarn and weave in the tails. That’s it! The above image had the right sides (RS) of the fabrics facing up.