Whip Stitch Seam Between Selvages
This post may contain affiliate links. Read my full disclosure policy.
This website does not provide medical advice. Read my full disclaimer here.
There are several ways to seam your crochet fabric together but none are quite so versatile as the whip stitch. This stitch is an easy way to quickly join your crochet fabrics – the only drawback is that it is somewhat visible. If you use the same color yarn and the fabric, it virtually disappears. If you have multiple colors and can’t match just one, choose the color that will disappear the most.
Whip Stitch The Selvage

Whip stitching along the selvage of crochet fabric is not exactly easy. The selvage is the ‘turning edge’, where you’ve chained and turned the piece to work the next row. Depending on the pattern, each row could have different stitches making them all different heights. Which is fine until it comes to seaming.
It isn’t always easy – and can be kind of stressful – to seam along the selvage. Let’s break it down step-by-step to remove some of that anxiety!
How many stitches to I need?

First line up the selvage of your crochet pieces. It might be helpful to lay them flat if you can.

Now if your fabrics are the exact same stitches, this next part is easy. For demo purposes, the images use a piece of all half double crochet (left) and double crocheted fabric (right). For extra fun, the half double crochet piece ends with a row of single crochet.
Let’s start with the easy part. The double crochet fabric will need 2 whip stitches for each row. If it were all single crochet, you would need just 1 whip stitch per row. The trouble is those pesky half double crochets!
For half double crochets, I’ve found it is easiest to alternate the number of whip stitches per row. I typically alternate between 1 and 2.
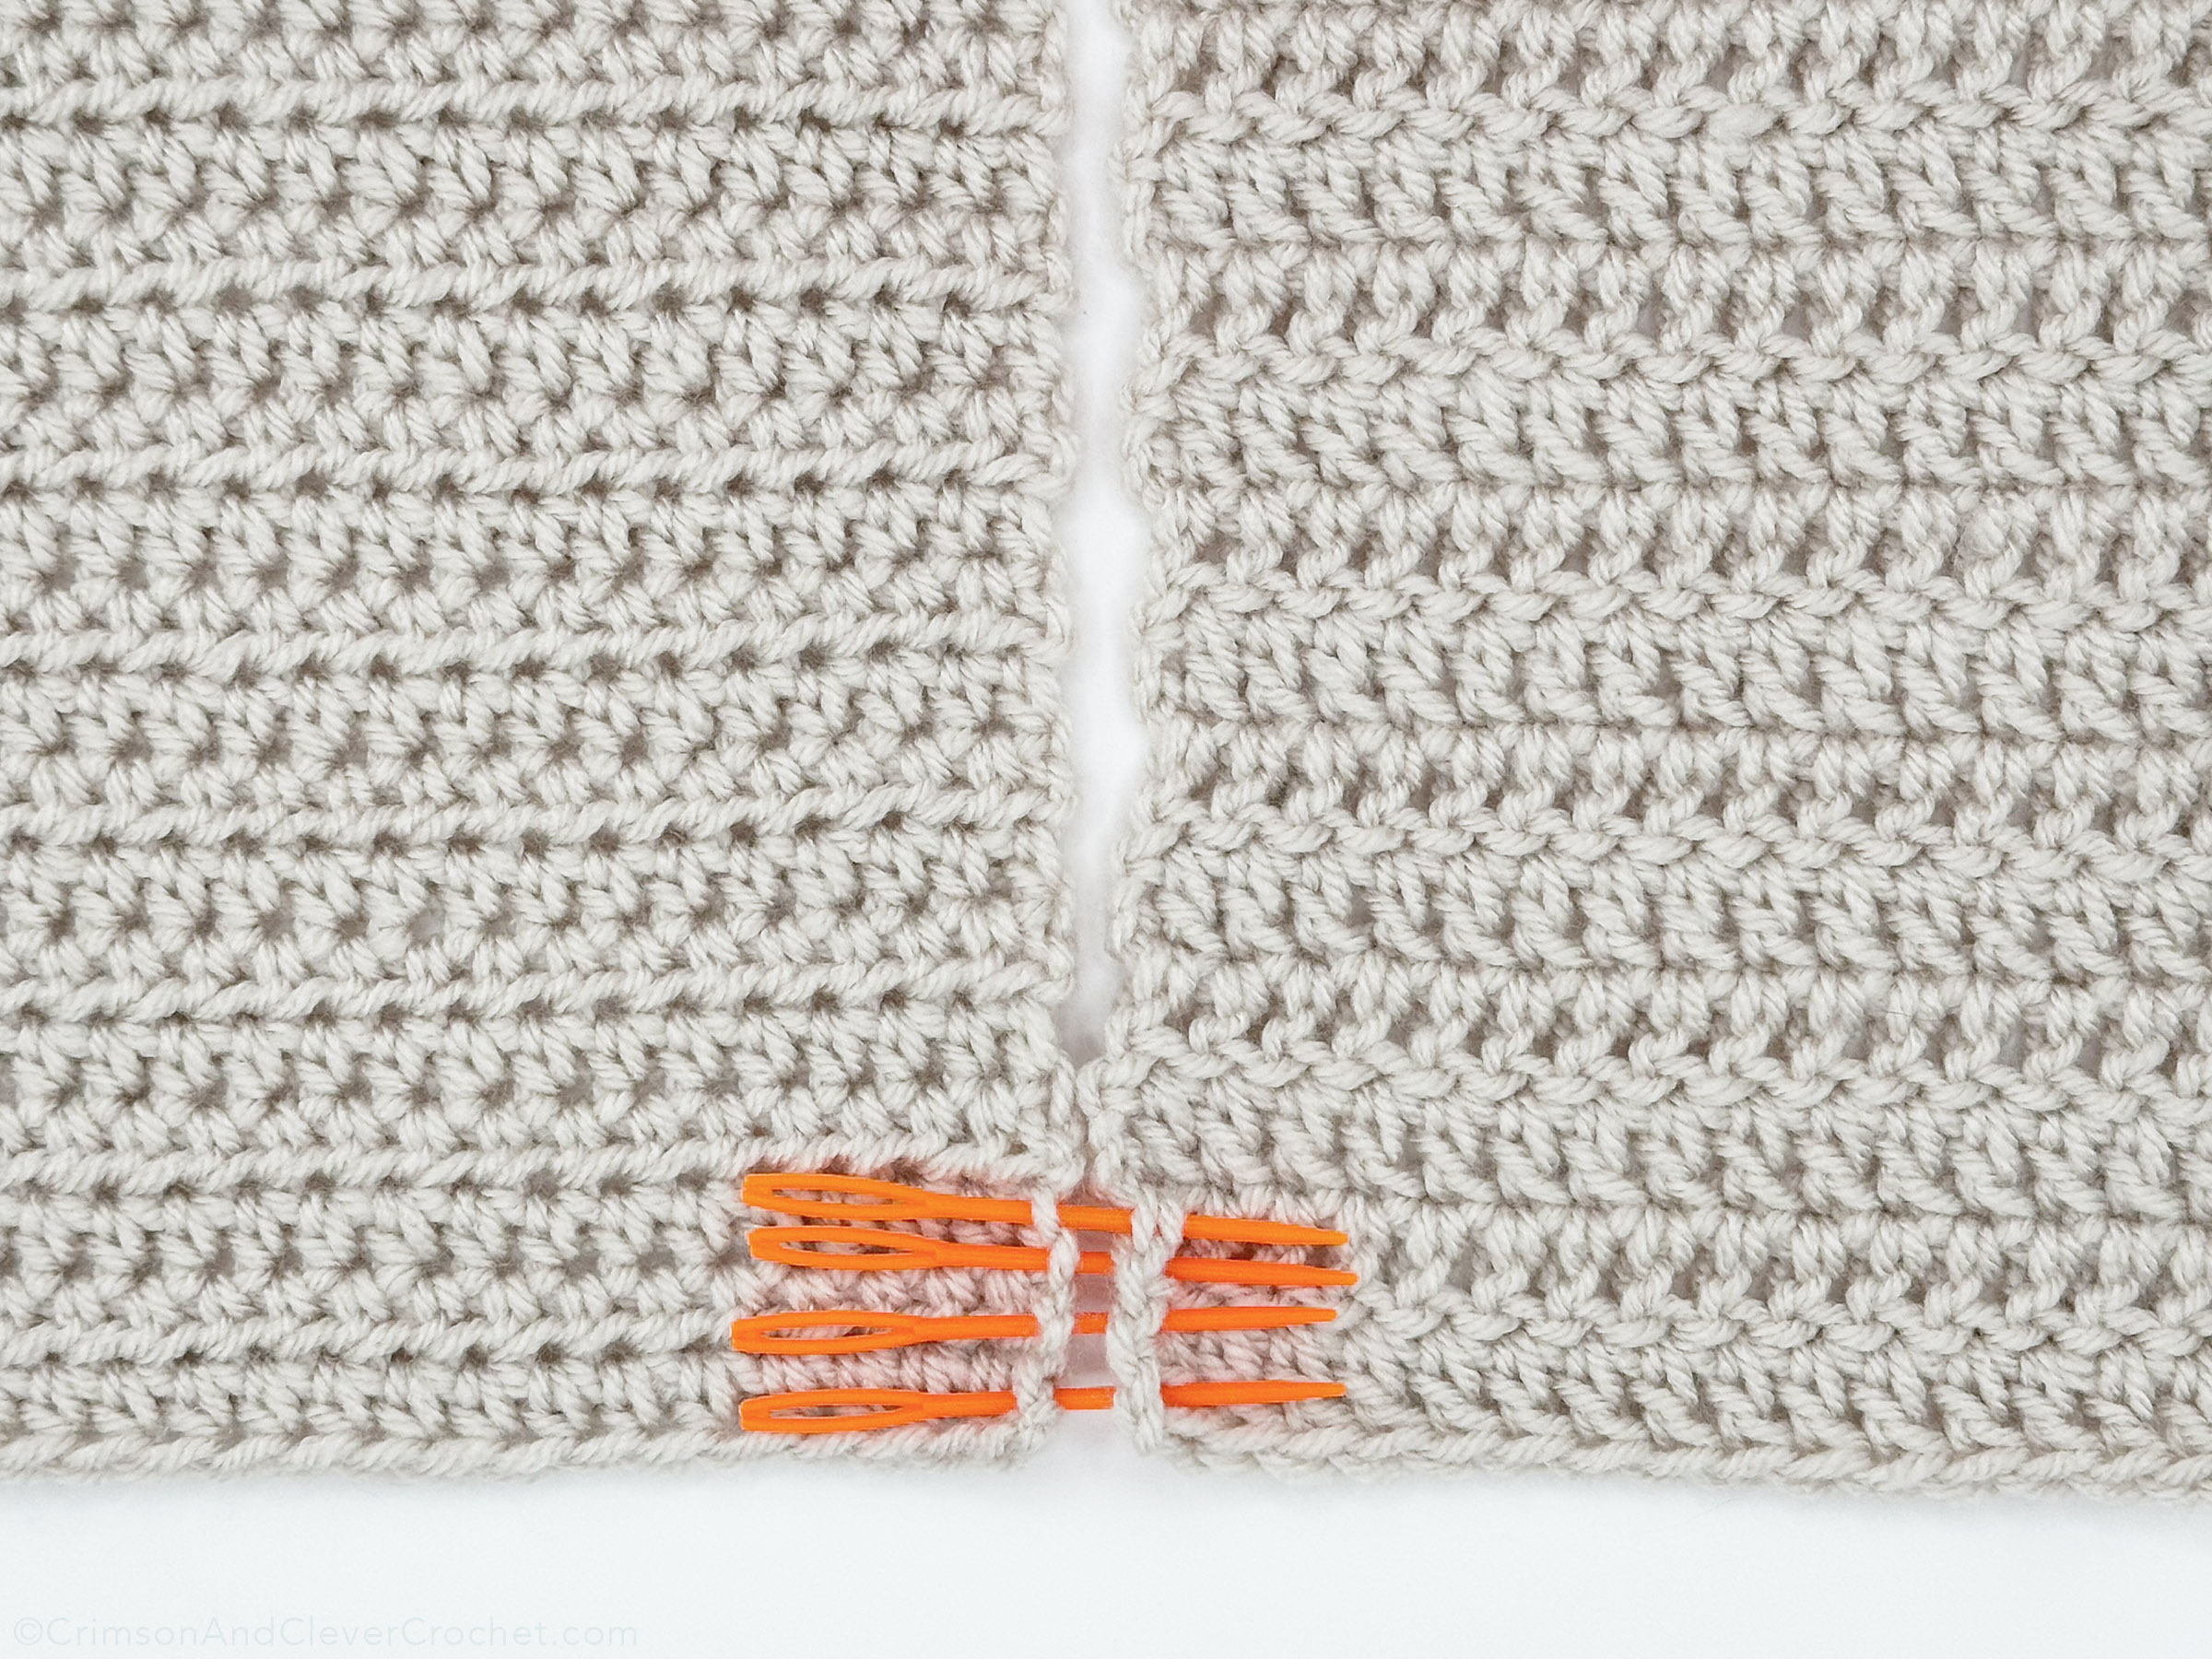
Decide how many whip stitches you need for your fabrics after studying the first few rows.
Now Back To The Whip Stitch!
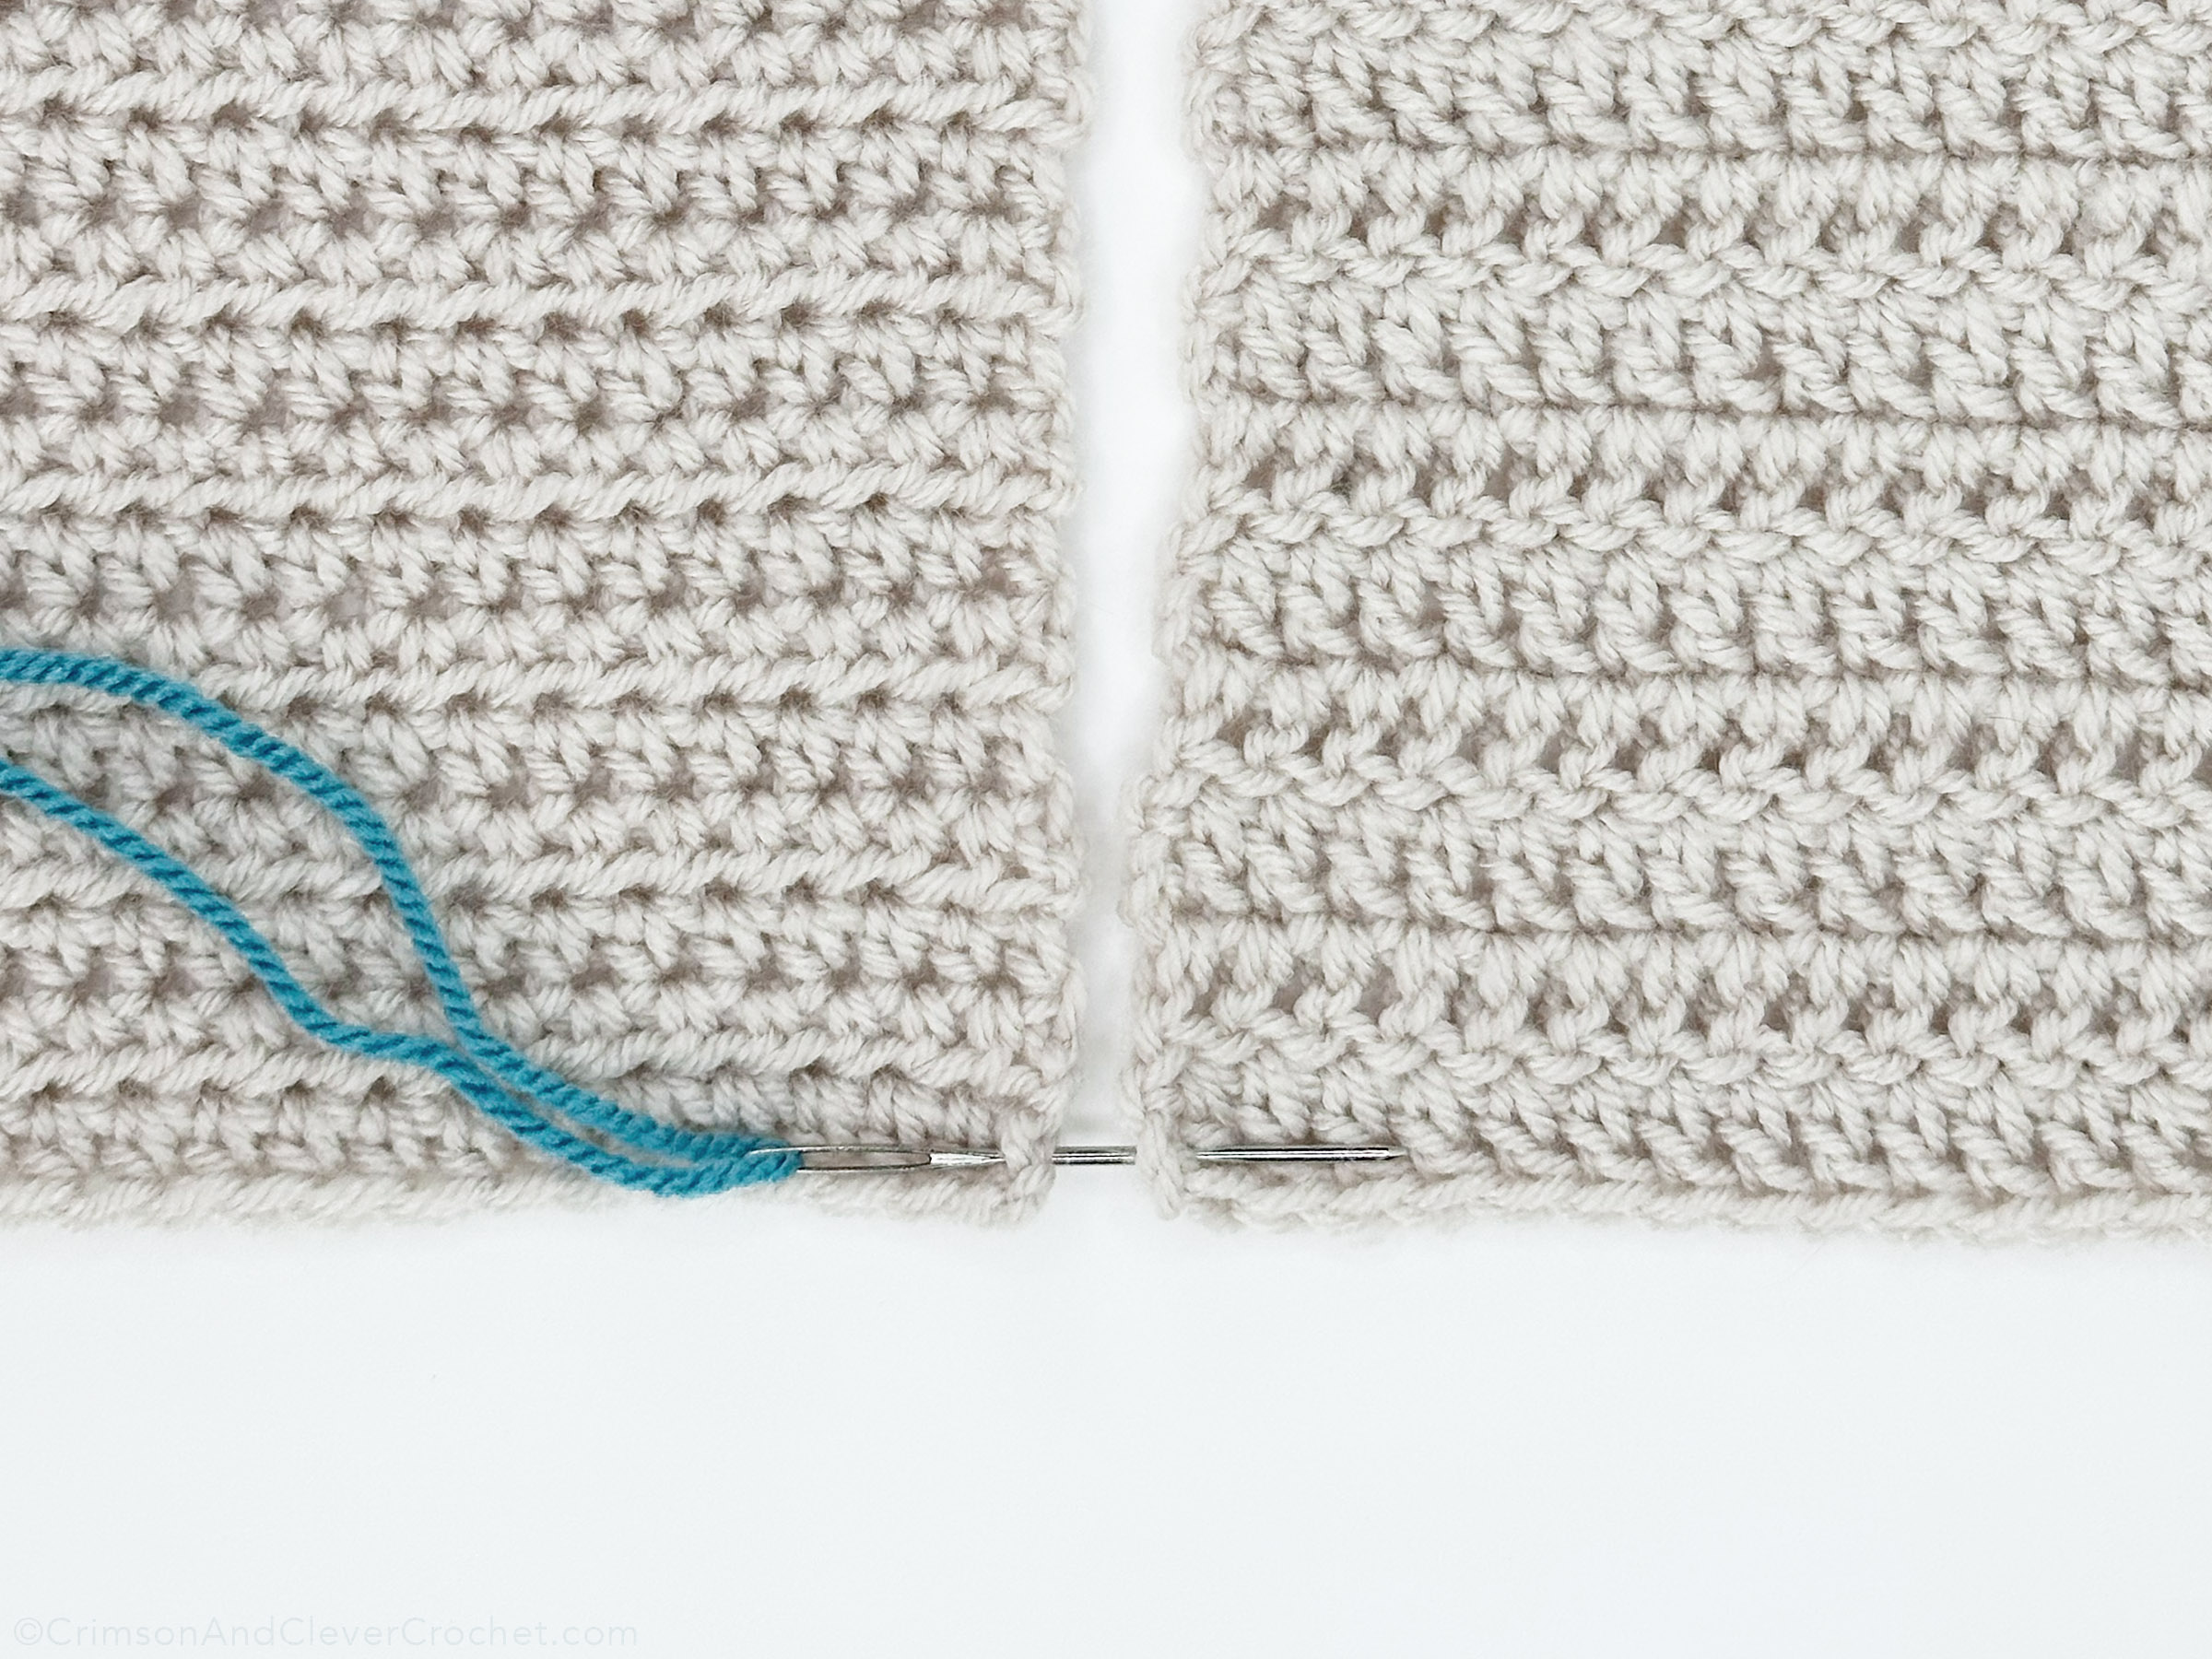
Insert your needle from left to right into the first stitch. Grab a single piece of yarn from both sides, or two pieces. More than two will make your seam bulky. The most important thing is to be consistent – decide on one or two and do that for the entire seam.
Pull the yarn through, leaving a short tail to secure and hide when the seam is finished.
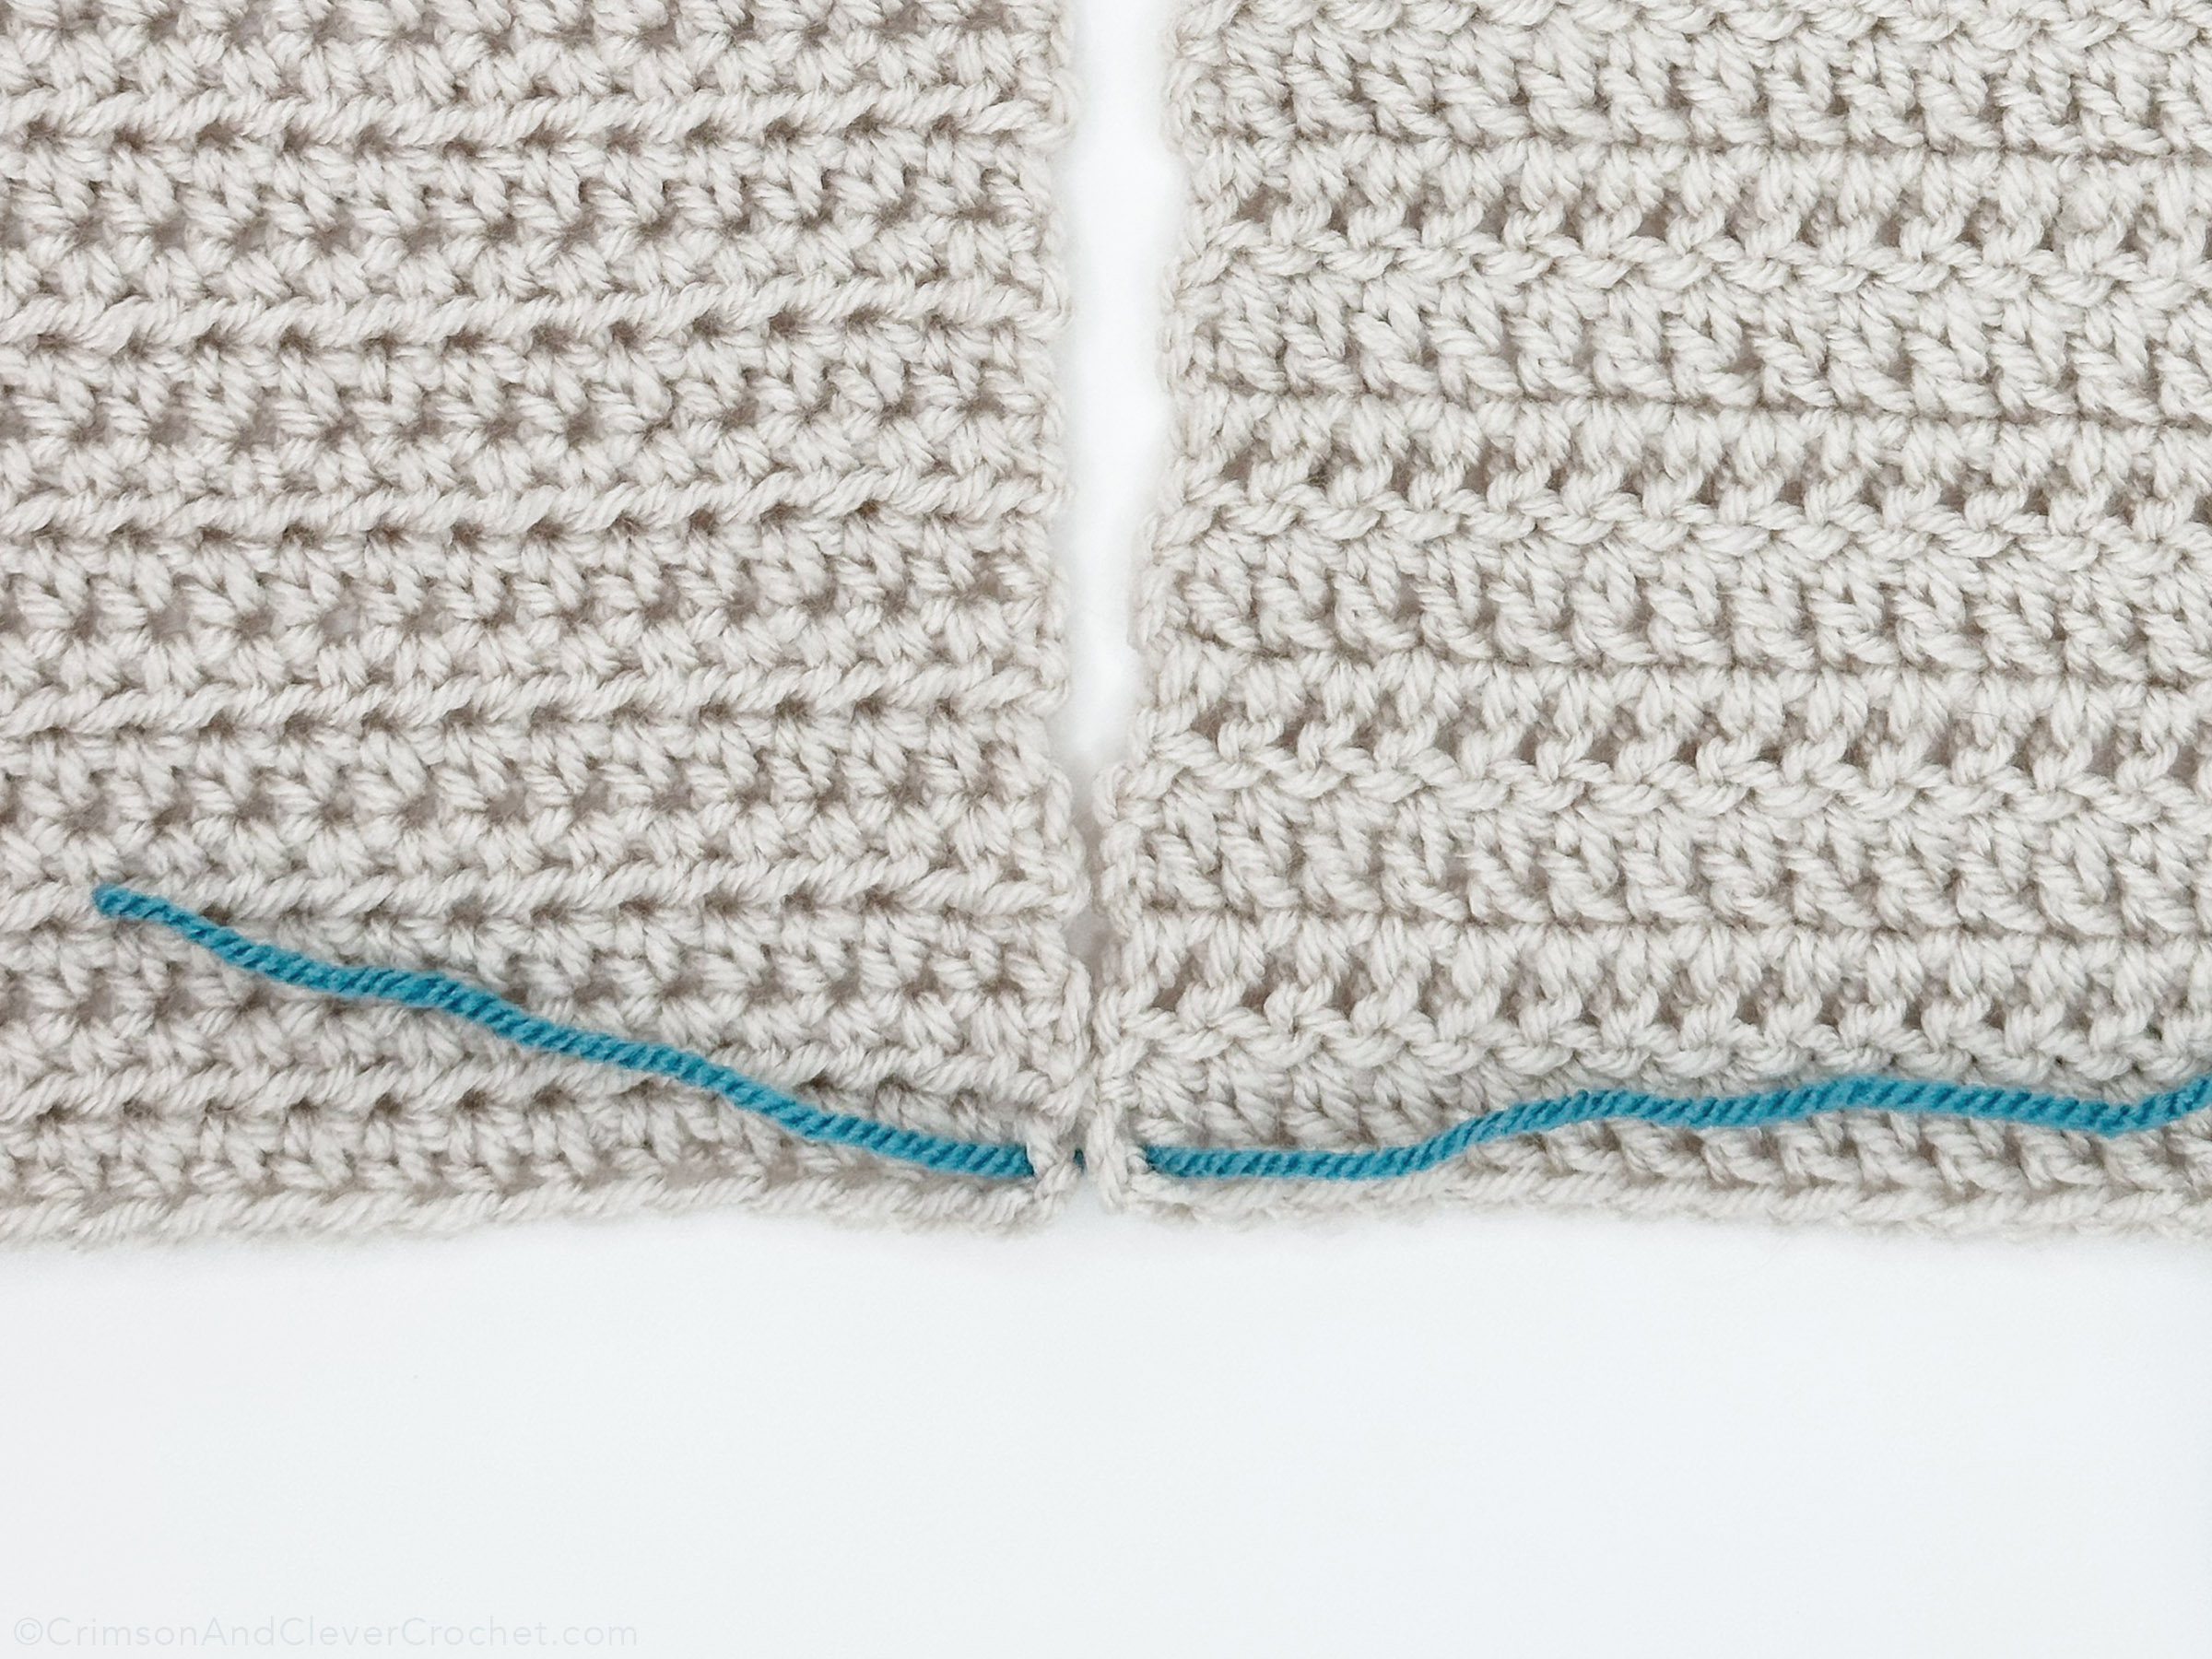
Bring the working tail back over the seam from right to left.

Insert your needle into the next loops to be joined.

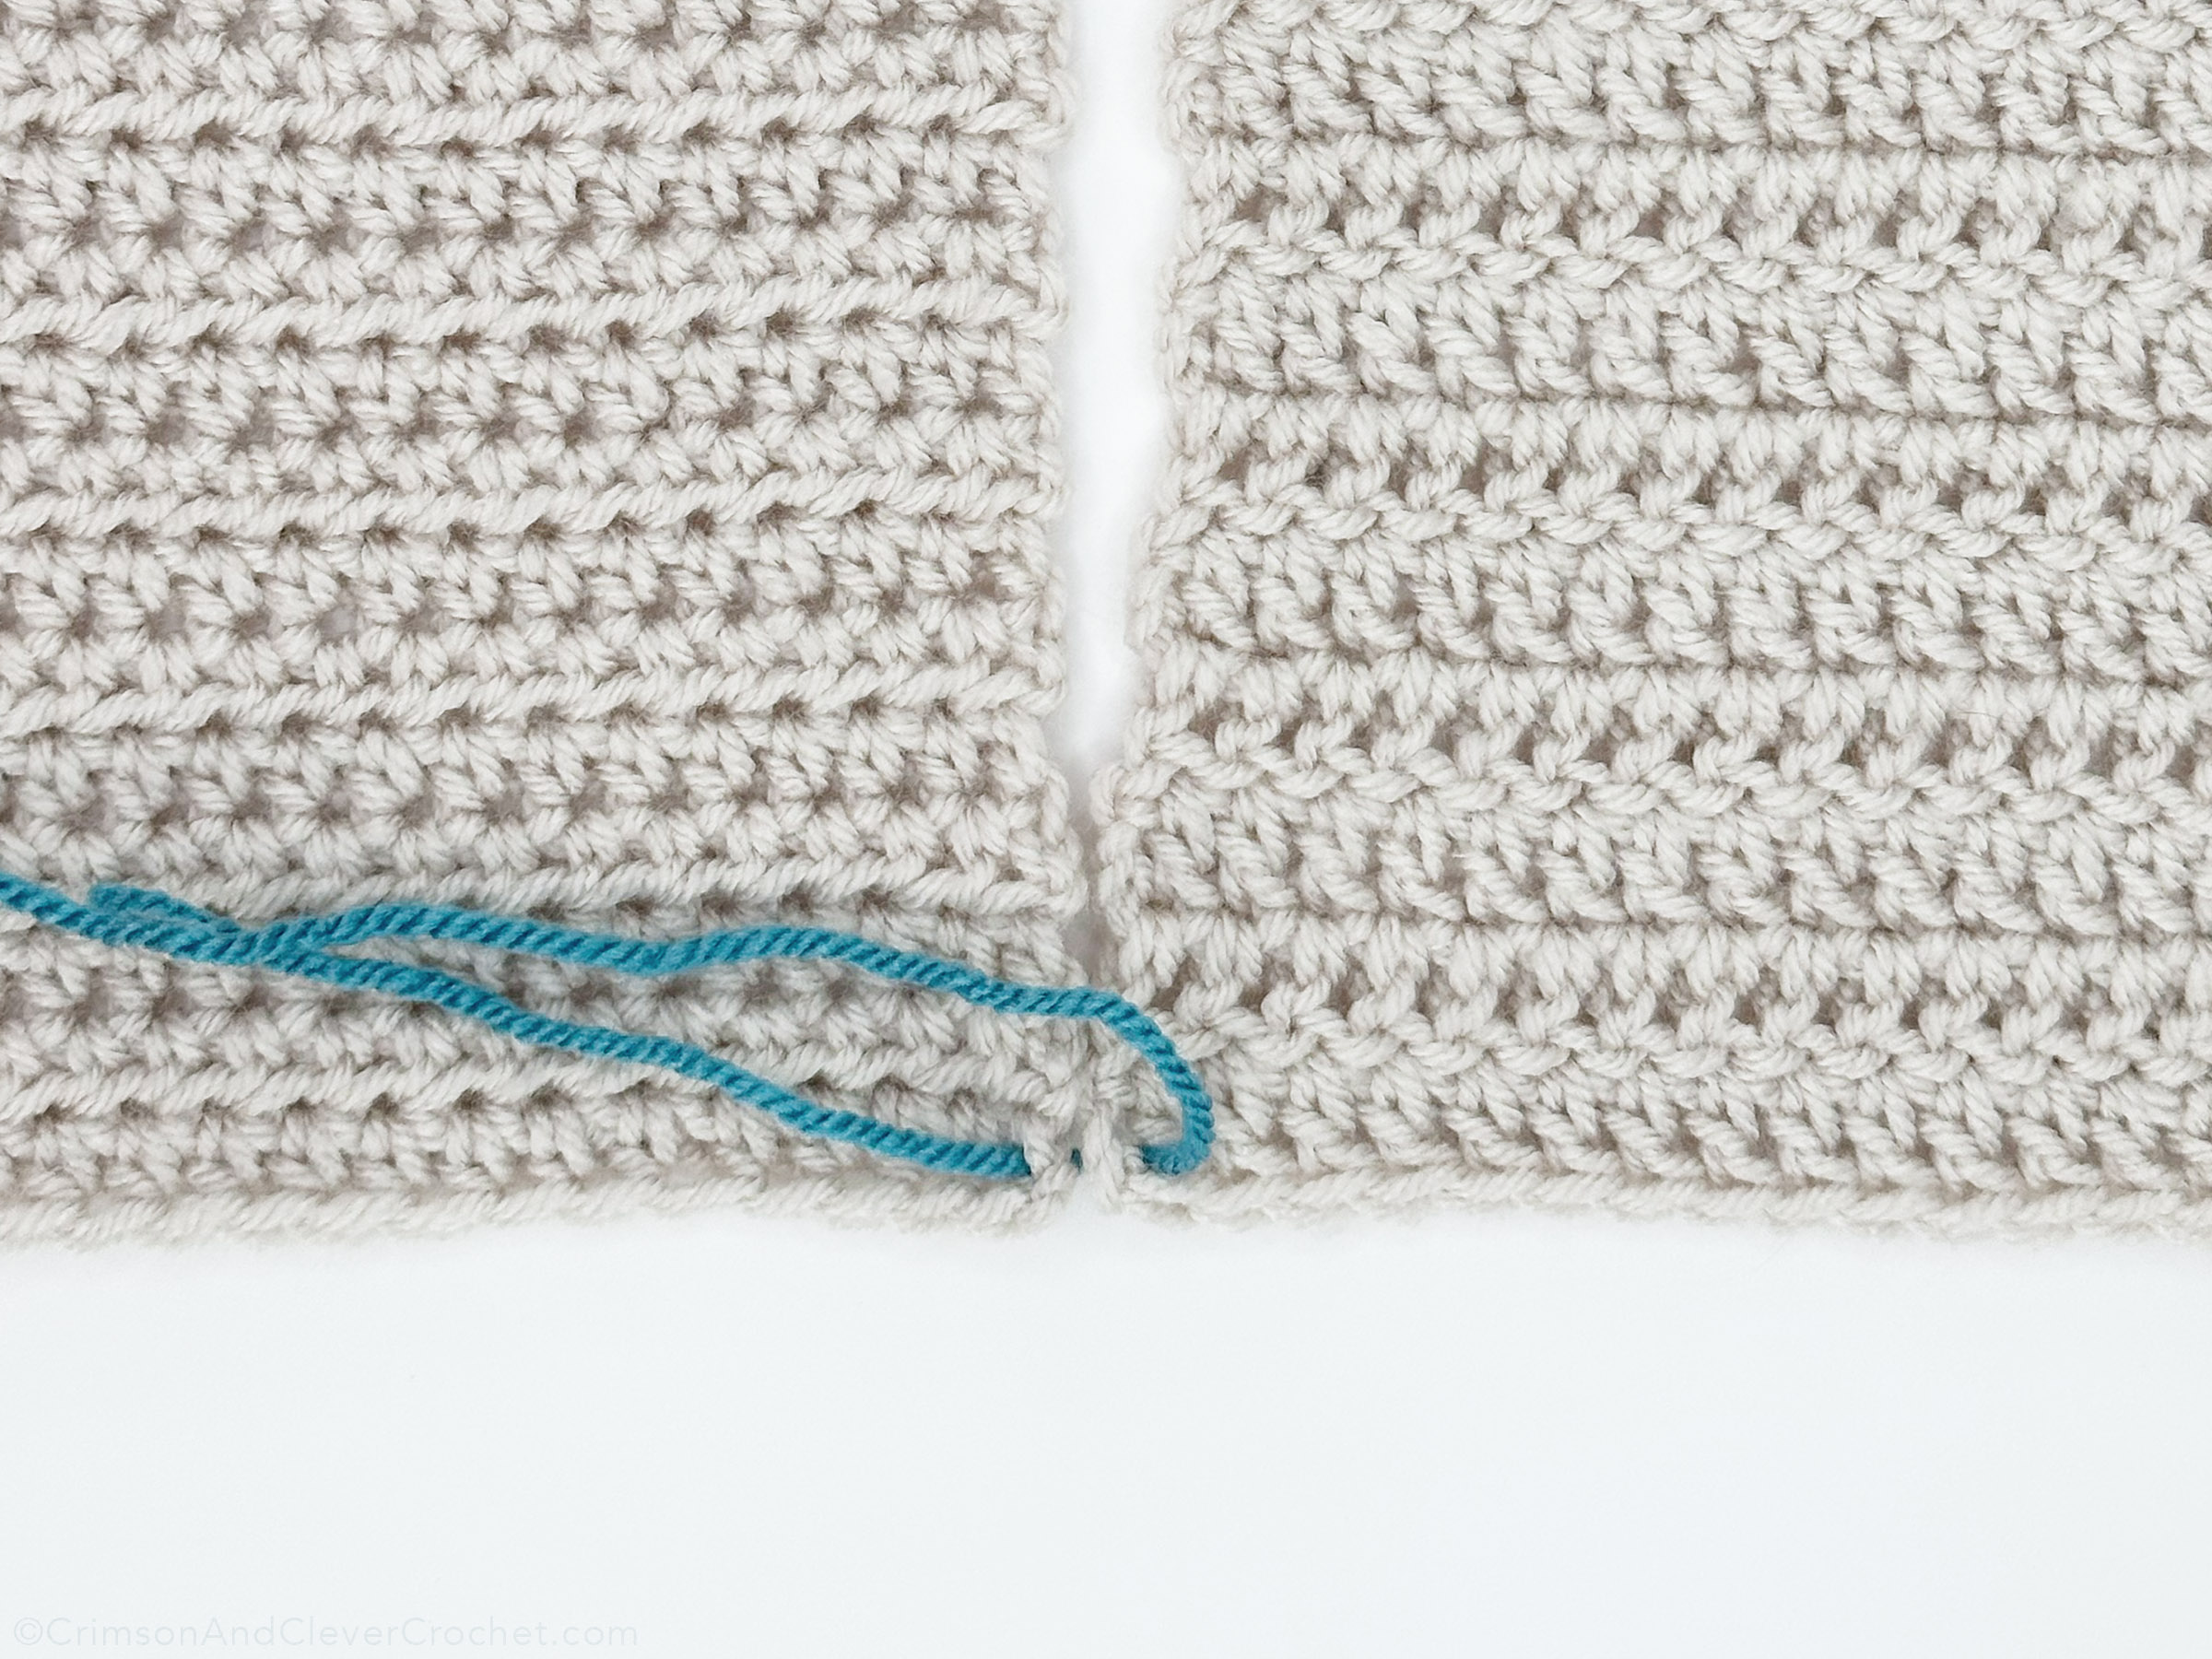
Pull the yarn through and snugly. Not too tight – your seam will pucker!
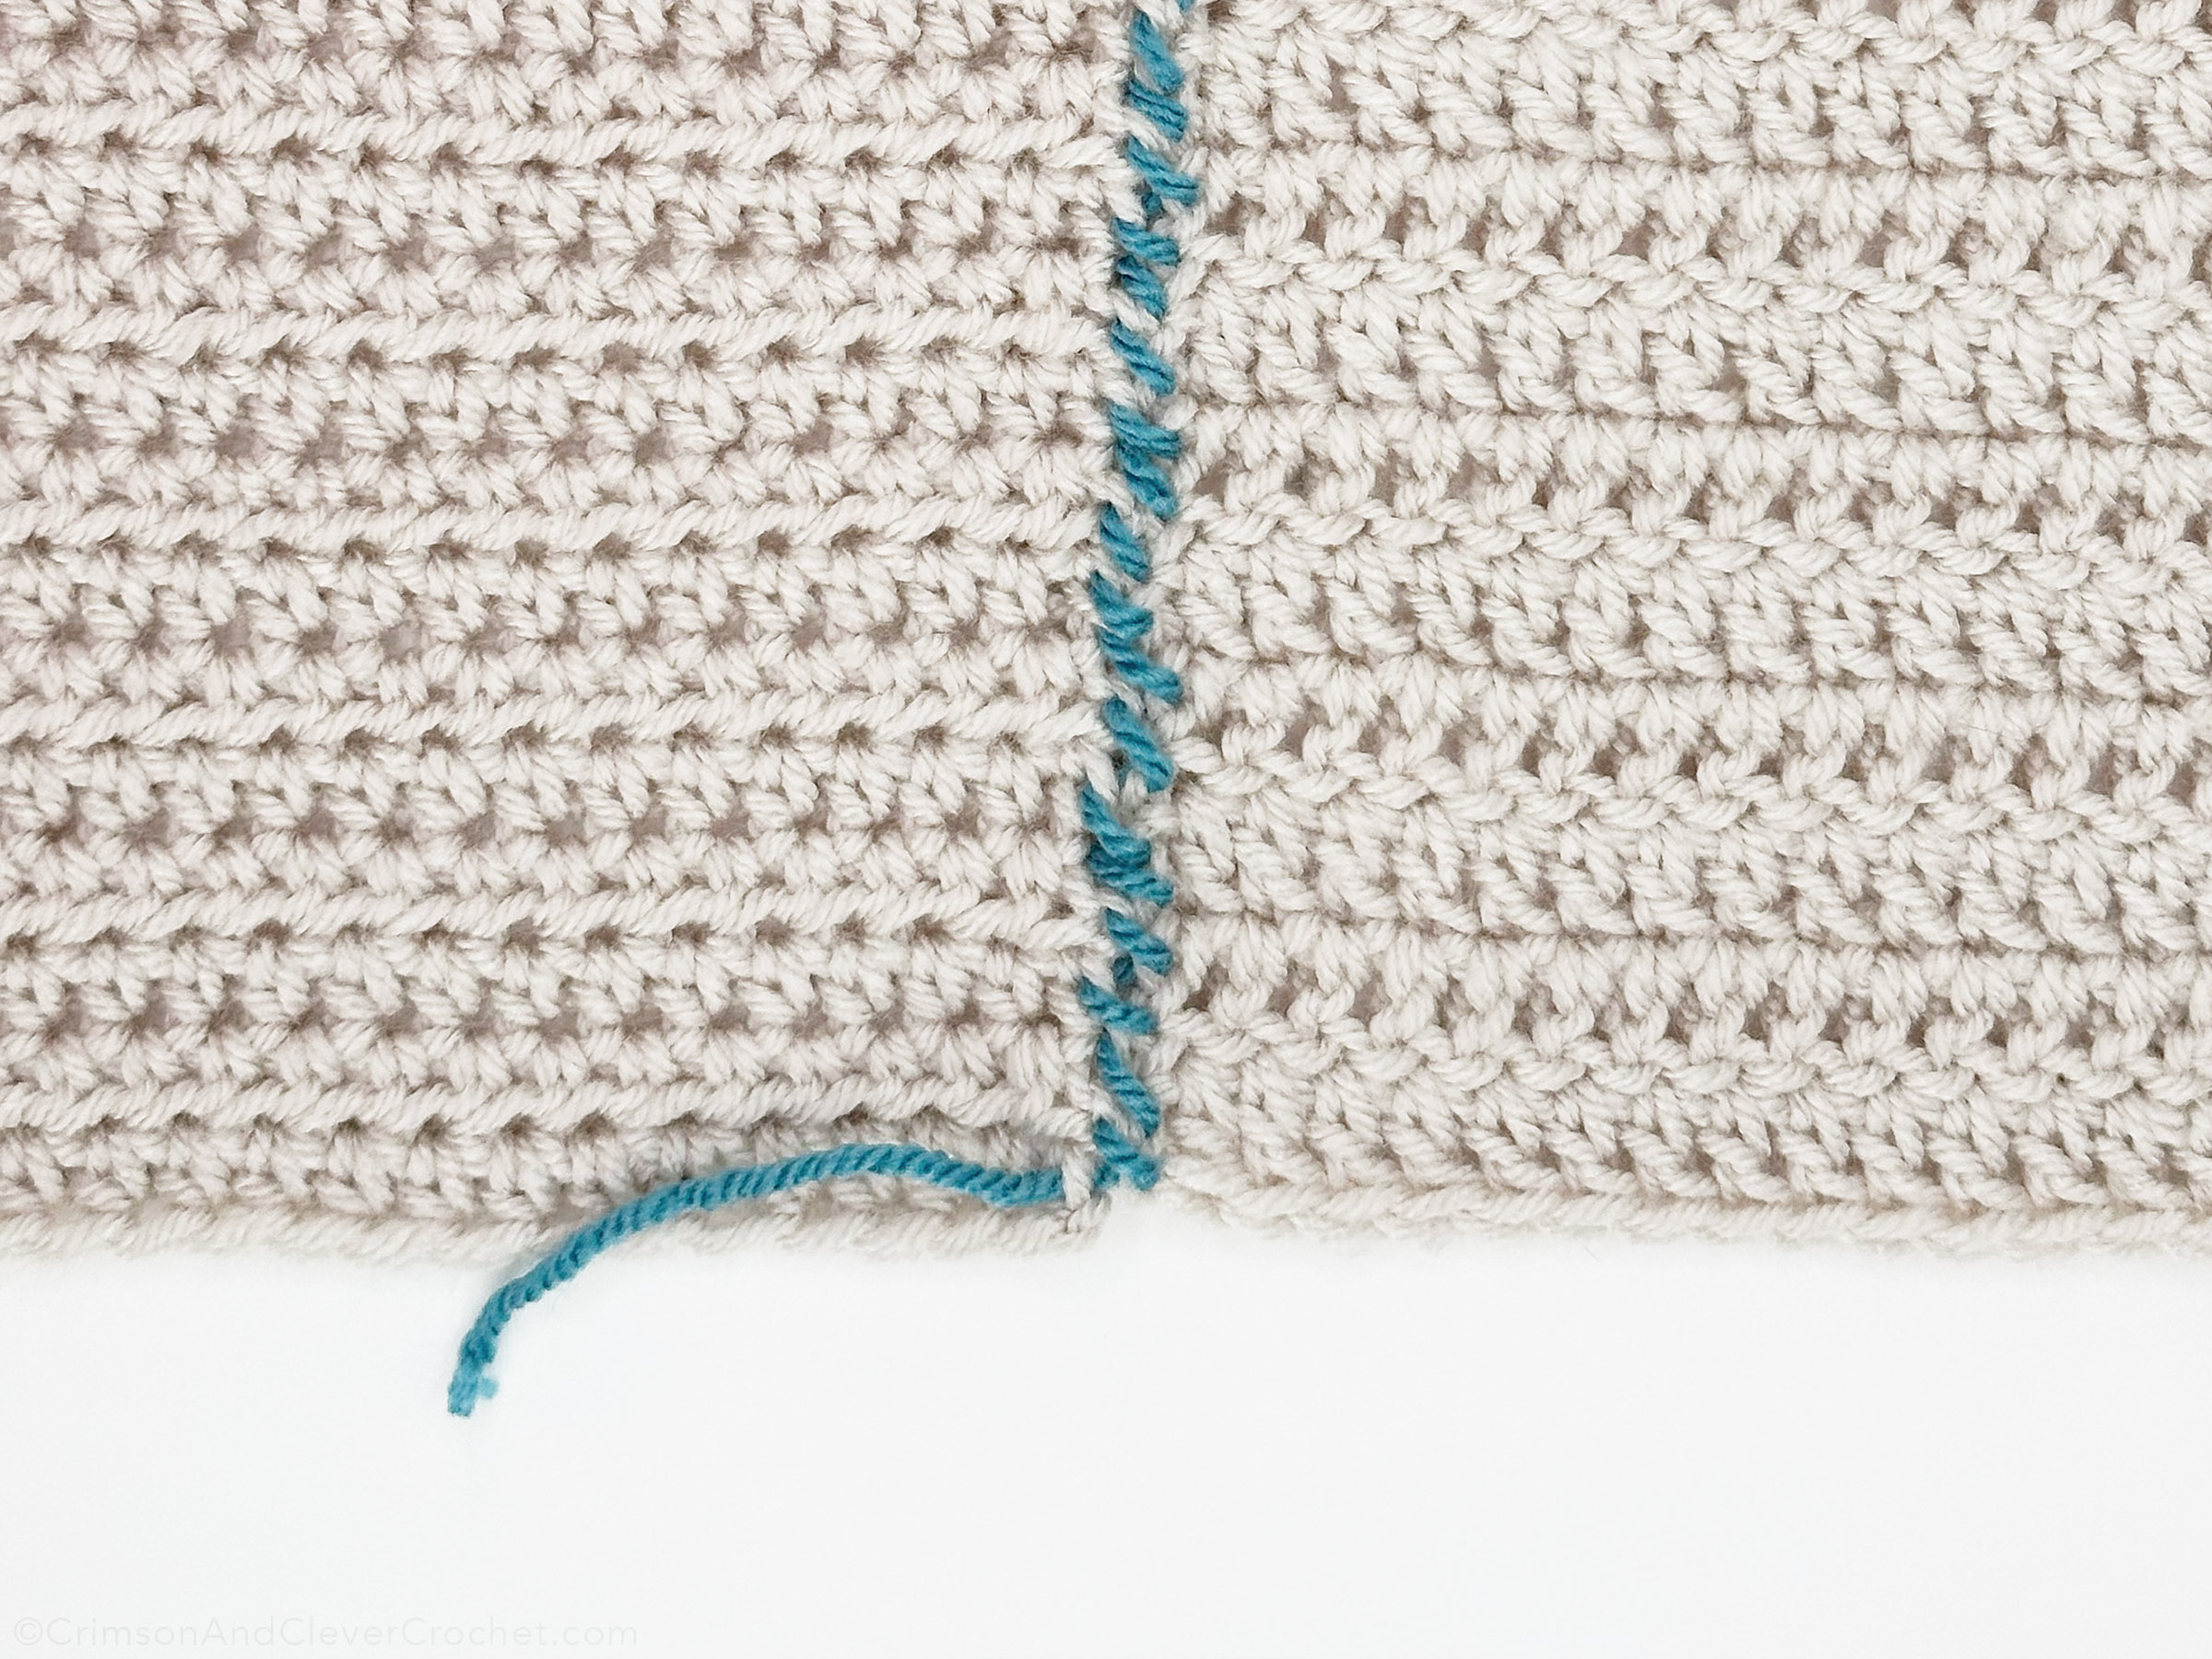
Continue whip stitching the seam together. The image above shows a finished seam from the wrong side (WS). It isn’t as pretty as seaming together working edges, but it is fast, easy and pretty durable!

This is the right side (RS) of the fabric that has been whip stitched together along the selvage.
